When we lift our produce we also lift the nutrients from the soil that the plant has used to grow. Over time and cultivation this can leave the soil depleted…especially if we leave the soil bare over winter and that can effect yields and disease in plants from Chlorosis and poor growth due to Nitrogen or soft growth which allows aphids or disease to take hold.
Regularly adding organic matter to your plots can help improve soil structure and texture as well as reintroduce lost nutrients but sometimes an extra boost can help!
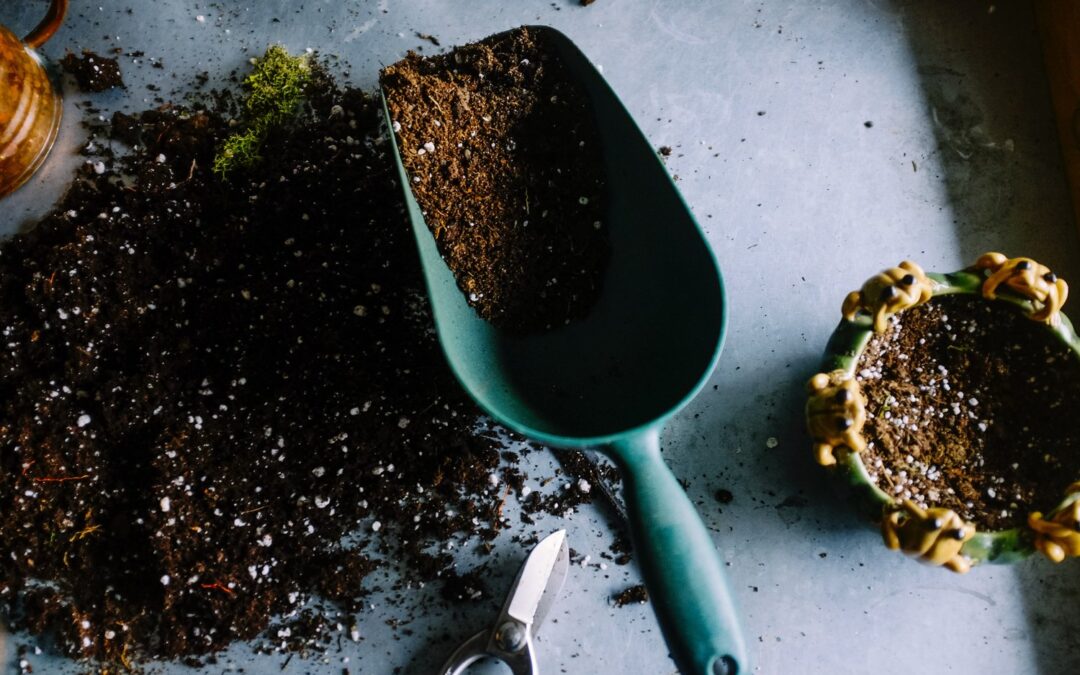
Here’s a run down of some of the best ways to boost your soil this year!
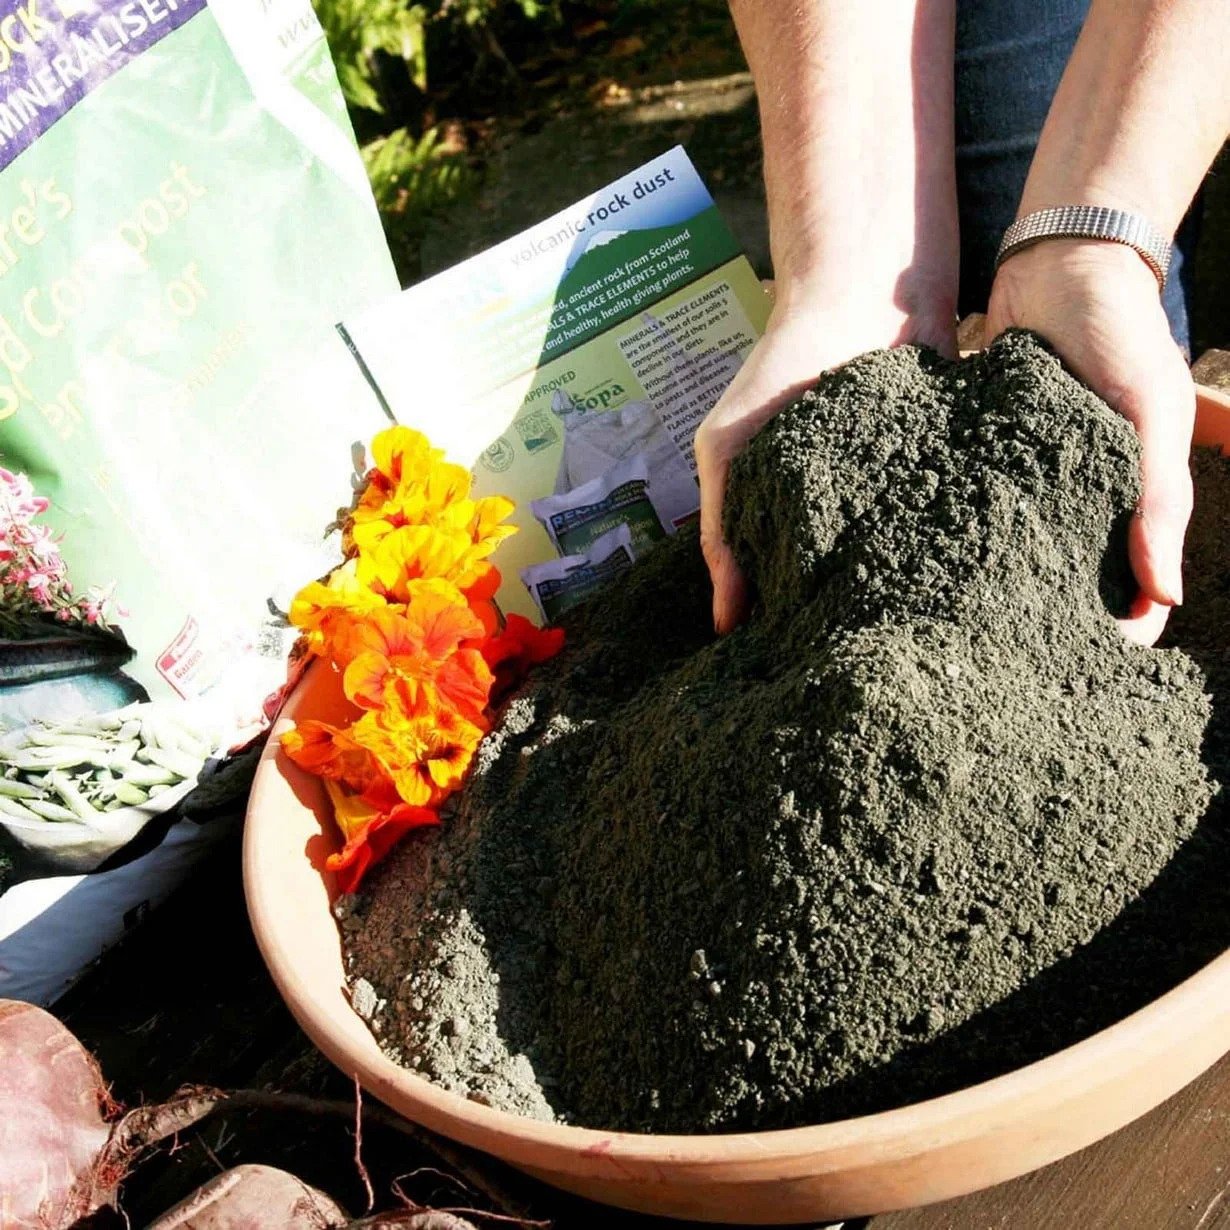
Rock Dust
Most of us spend our days picking rocks out of our beds! But this is definitely one you want to add in! Volcanic Rock Dust can help to add essential minerals and trace elements to help boost the soil but not only that it’s a great tonic for wormeries!
It’s a versatile additive that can be used all year round as a top dressing (except in windy or frozen conditions but that would be the same for any dressing) or mixed in with compost to give your pots a boost.
It’s also a great addition to the compost heap. Before each new layer of compost you can add a thin dusting of rock dust before adding on new material, there is some evidence to suggest it can speed up the rotting process but without increasing the smell!
We use REMIN Volcanic Dust in a 20kg which covers a 40sqm area…plenty for our allotment.
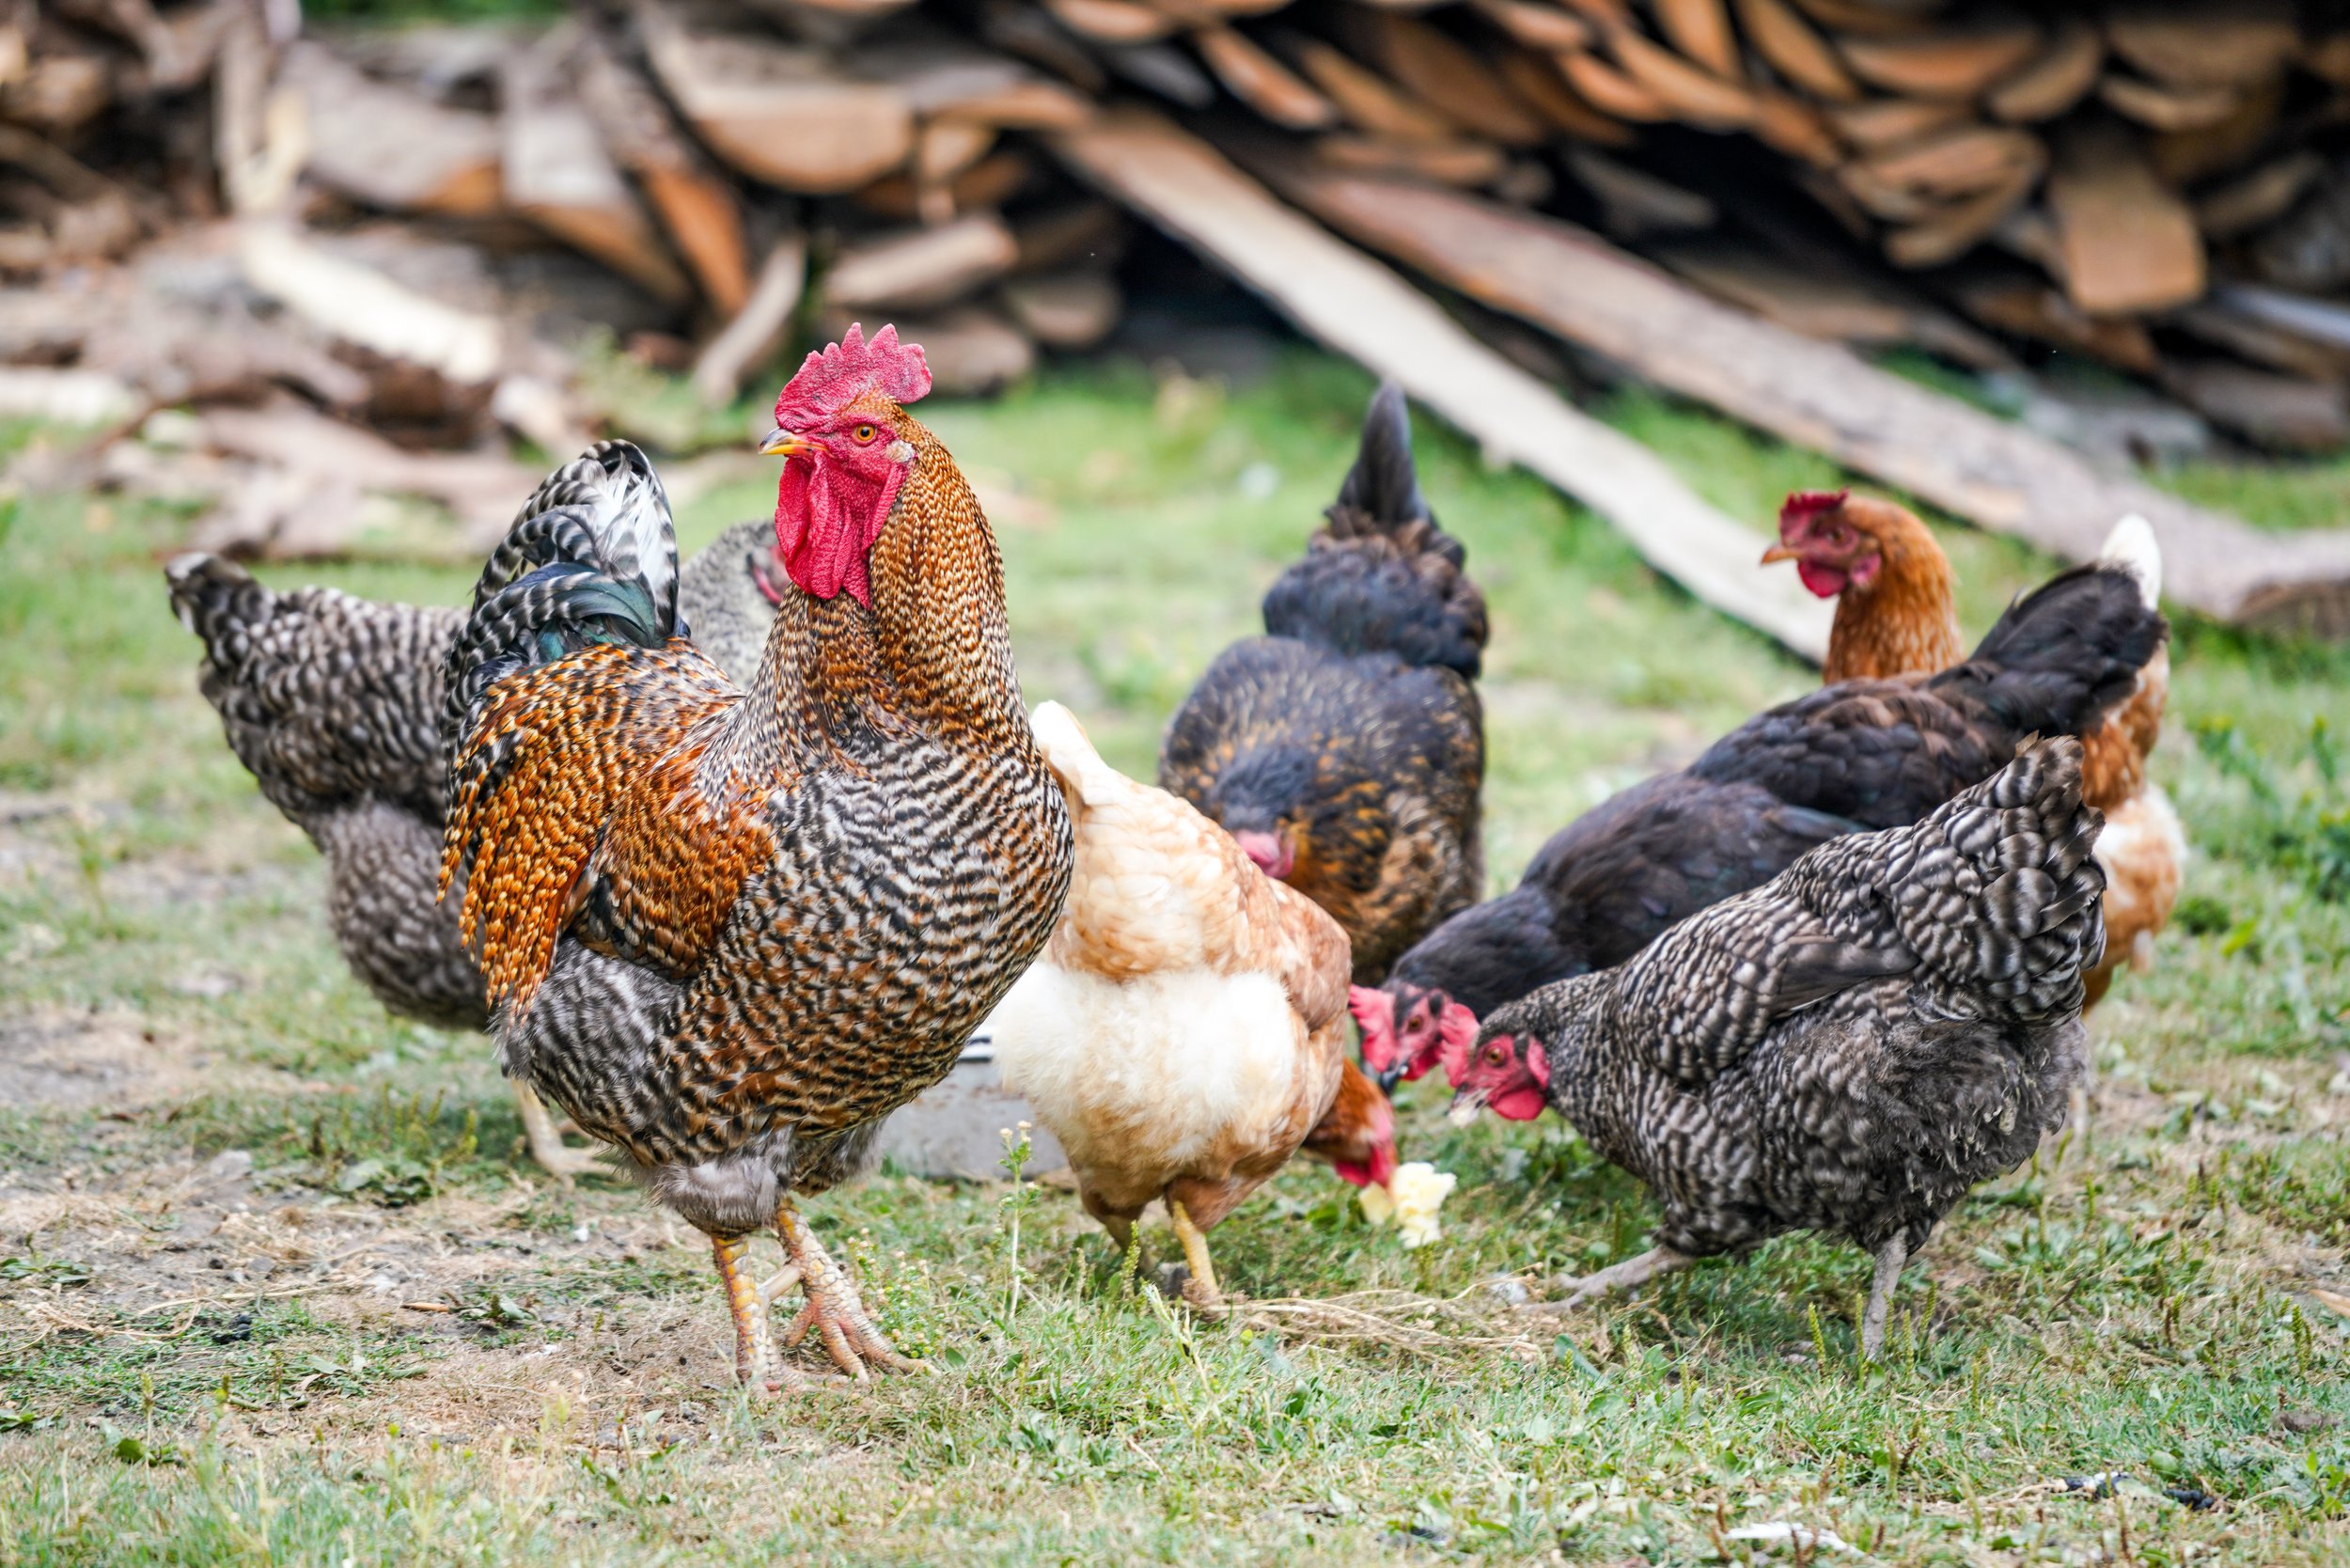
A 100% natural fertiliser which can enrich the soil and when used as pellets it is far more concentrated meaning you can use a smaller amount.
Chicken manure pellets are a great feed for both pots and plots. We use ours when we do any planting by putting a handful of pellets in the bottom of the hole before we put the plant in, as the slow release nature of the pellets means one feed lasts all season!
Pellet form is also great for storage as it doesn’t break down so a 20kg usually lasts us a couple of seasons!
So we’ve previously used waste Wool as a top dressing for our Leeks but always found it took far too long to break down in the soil. The other option is Wool compost….which has already done the big breakdown leaving some nutrient rich soil conditioner!
Sheep’s wool has a high level of nitrogen and is relatively slow release but it also has really good water retention properties, making it great for long hot summers! We use DaleFoots Wool and Bracken Compost because the extra dose of Bracken, which is a great source of PotAsh. So double bonus, high nutrient content and two waste products!
One thing though….the one we recommend is double strength so dilute it with your existing or spent compost half and half, so as to avoid over feeding! It’s also great for sandy soils which can often struggle with nutrient leach because of its slow release nature!
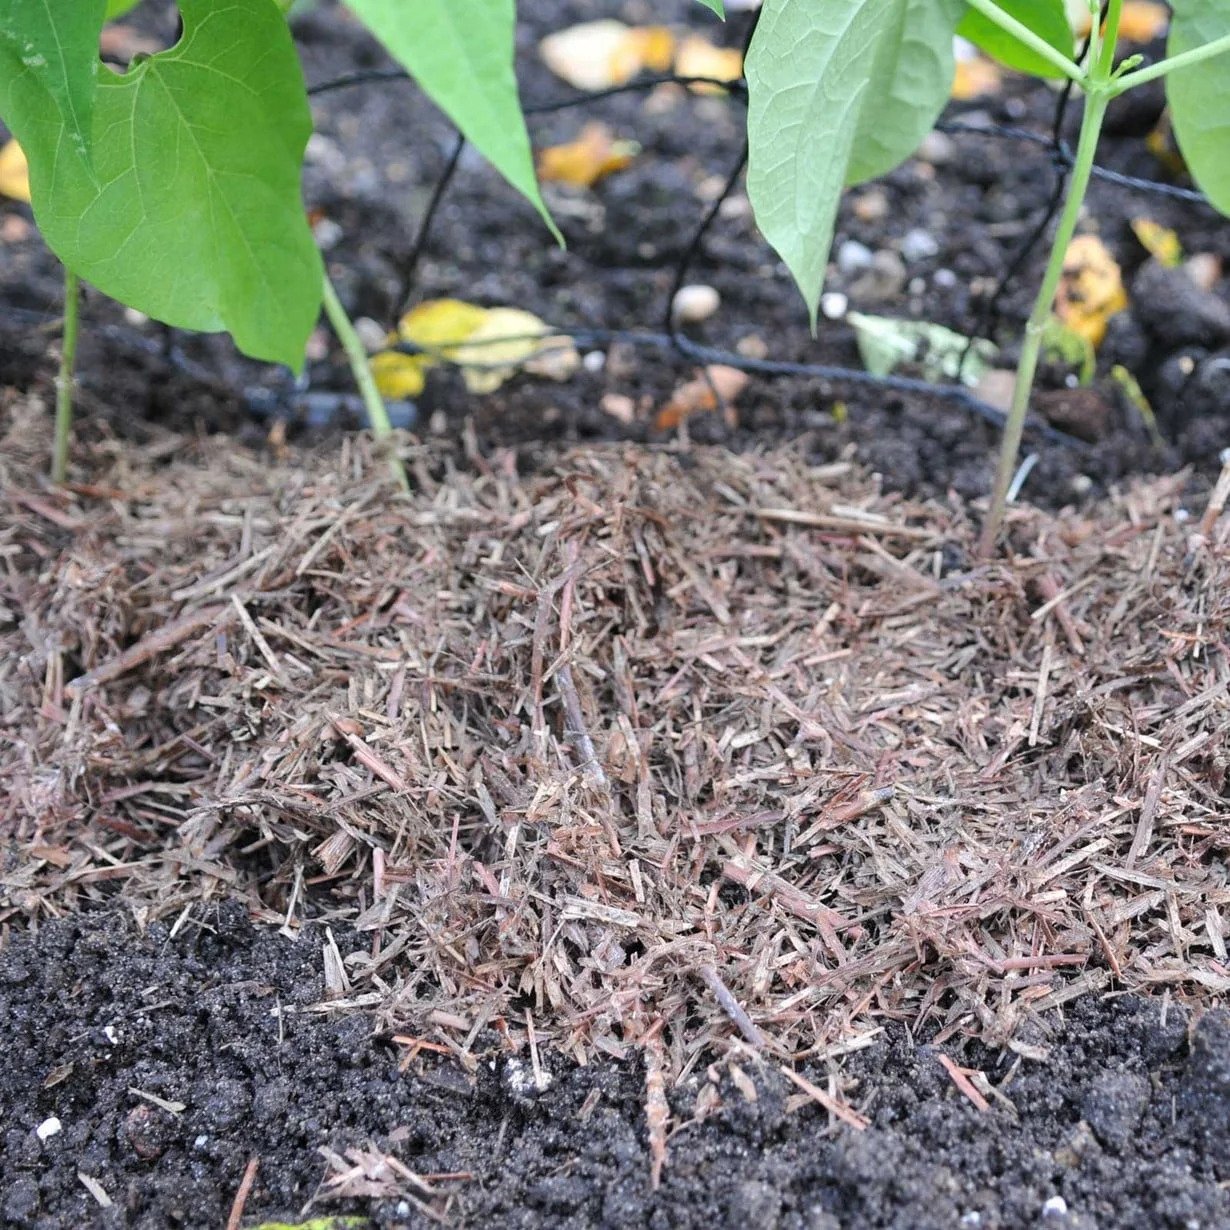
Strulch
Now…if you’ve followed us on Instagram you’ll already know about my massive love for Strulch! We use it every year to top dress out Strawberries and it’s been incredible for our yields and yet not too strong that it burns the fruit thanks to its neutral pH.
A double whammy it’s a fantastic weed suppressant and we dig it in at the end of it’s life as a mulch (2 years according to Strulch) to breakdown in the soil and aid our soil structure.
The best thing about it is it’s really affordable for a dual use conditioner and mulch!
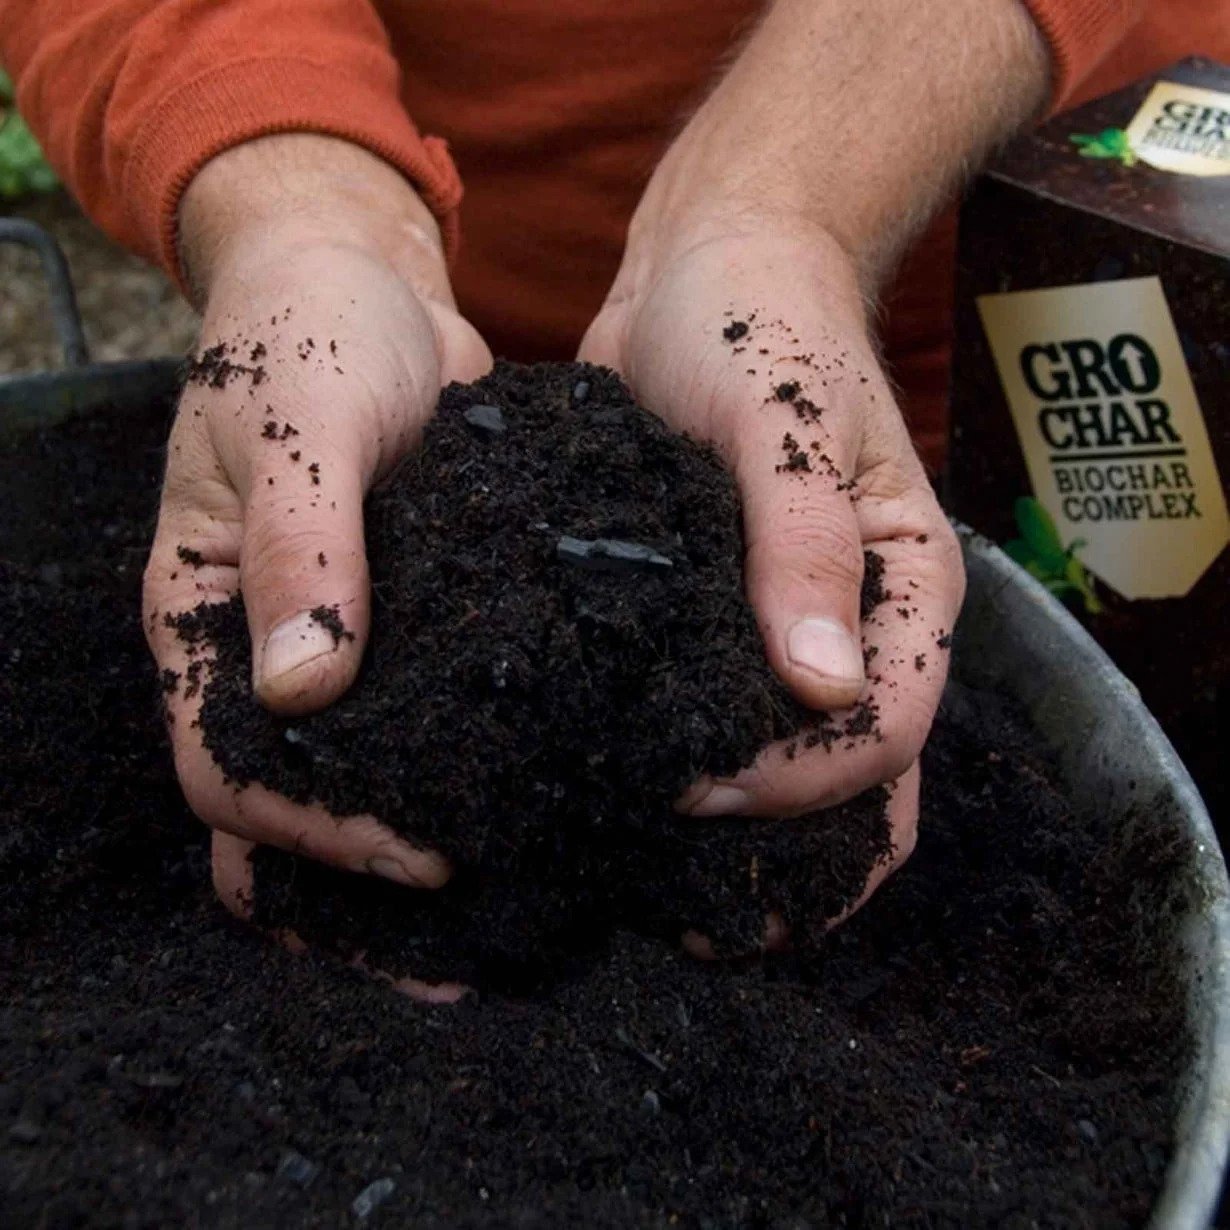
BioChar
A Carbon rich soil improver that helps trap carbon into the soil for long periods of time with just one application! It’s a great additive to improve the texture and structure of the soil and the best thing about it is that it often only takes on application to see a big impact!
We have used GroChar because not only is it Soil Association accredited but also it has the added benefits of Seaweed, wormcasts (poop!) and mychoorhizal fungi which adds nutrients to what would otherwise just be a conditioner and carbon trap! BioChar is produced by turning waste plant material into charcoal and another reason we like GroChar is because it does this using clean processes meaning it traps the carbon in the charcoal and not into the atmosphere!
There are so many different types of soil conditioners out there and we are all for ones that start with a waste product. These are our top picks and ones we use as part of our growing practices!
Would you add any others to the list? We’d love to hear what other things you use to keep your soil in tip top condition!
Get your craft on with these super easy newspaper pots, perfect for starting seeds!
When taking steps to adopt a greener lifestyle it’s not all about spending a fortune on ethical clothing brands or paying to offset your carbon. Whilst these are brilliant steps to take there are also simple ways of making changes starting at home! Building greener foundations can start with the kit you use in the garden! Firstly, not all pots are created equal and yes there are some amazing plastic alternatives out there as well as recyclable pots but why not start with what you already have at home!
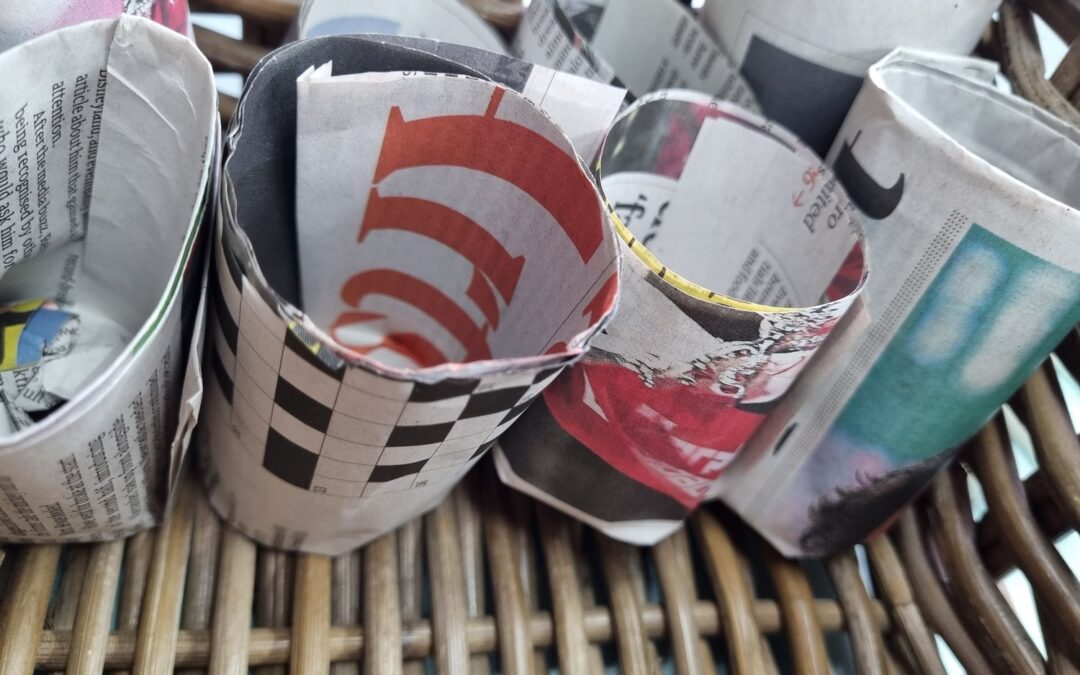
Newspaper Seedling Pots!
A great way to go low waste in the garden, whether you are a avid paper reader or you get those free ones through the door, it’s a great way of recycling them. They’re super easy to make and affordable as well as being biodegradable!
You don’t need any special tools, you’ll have everything you need at home. But it you were looking for something to keep those folds tight, a pot press could be just the ticket!
These Newspaper seedling pots are a great wet weekend activity!
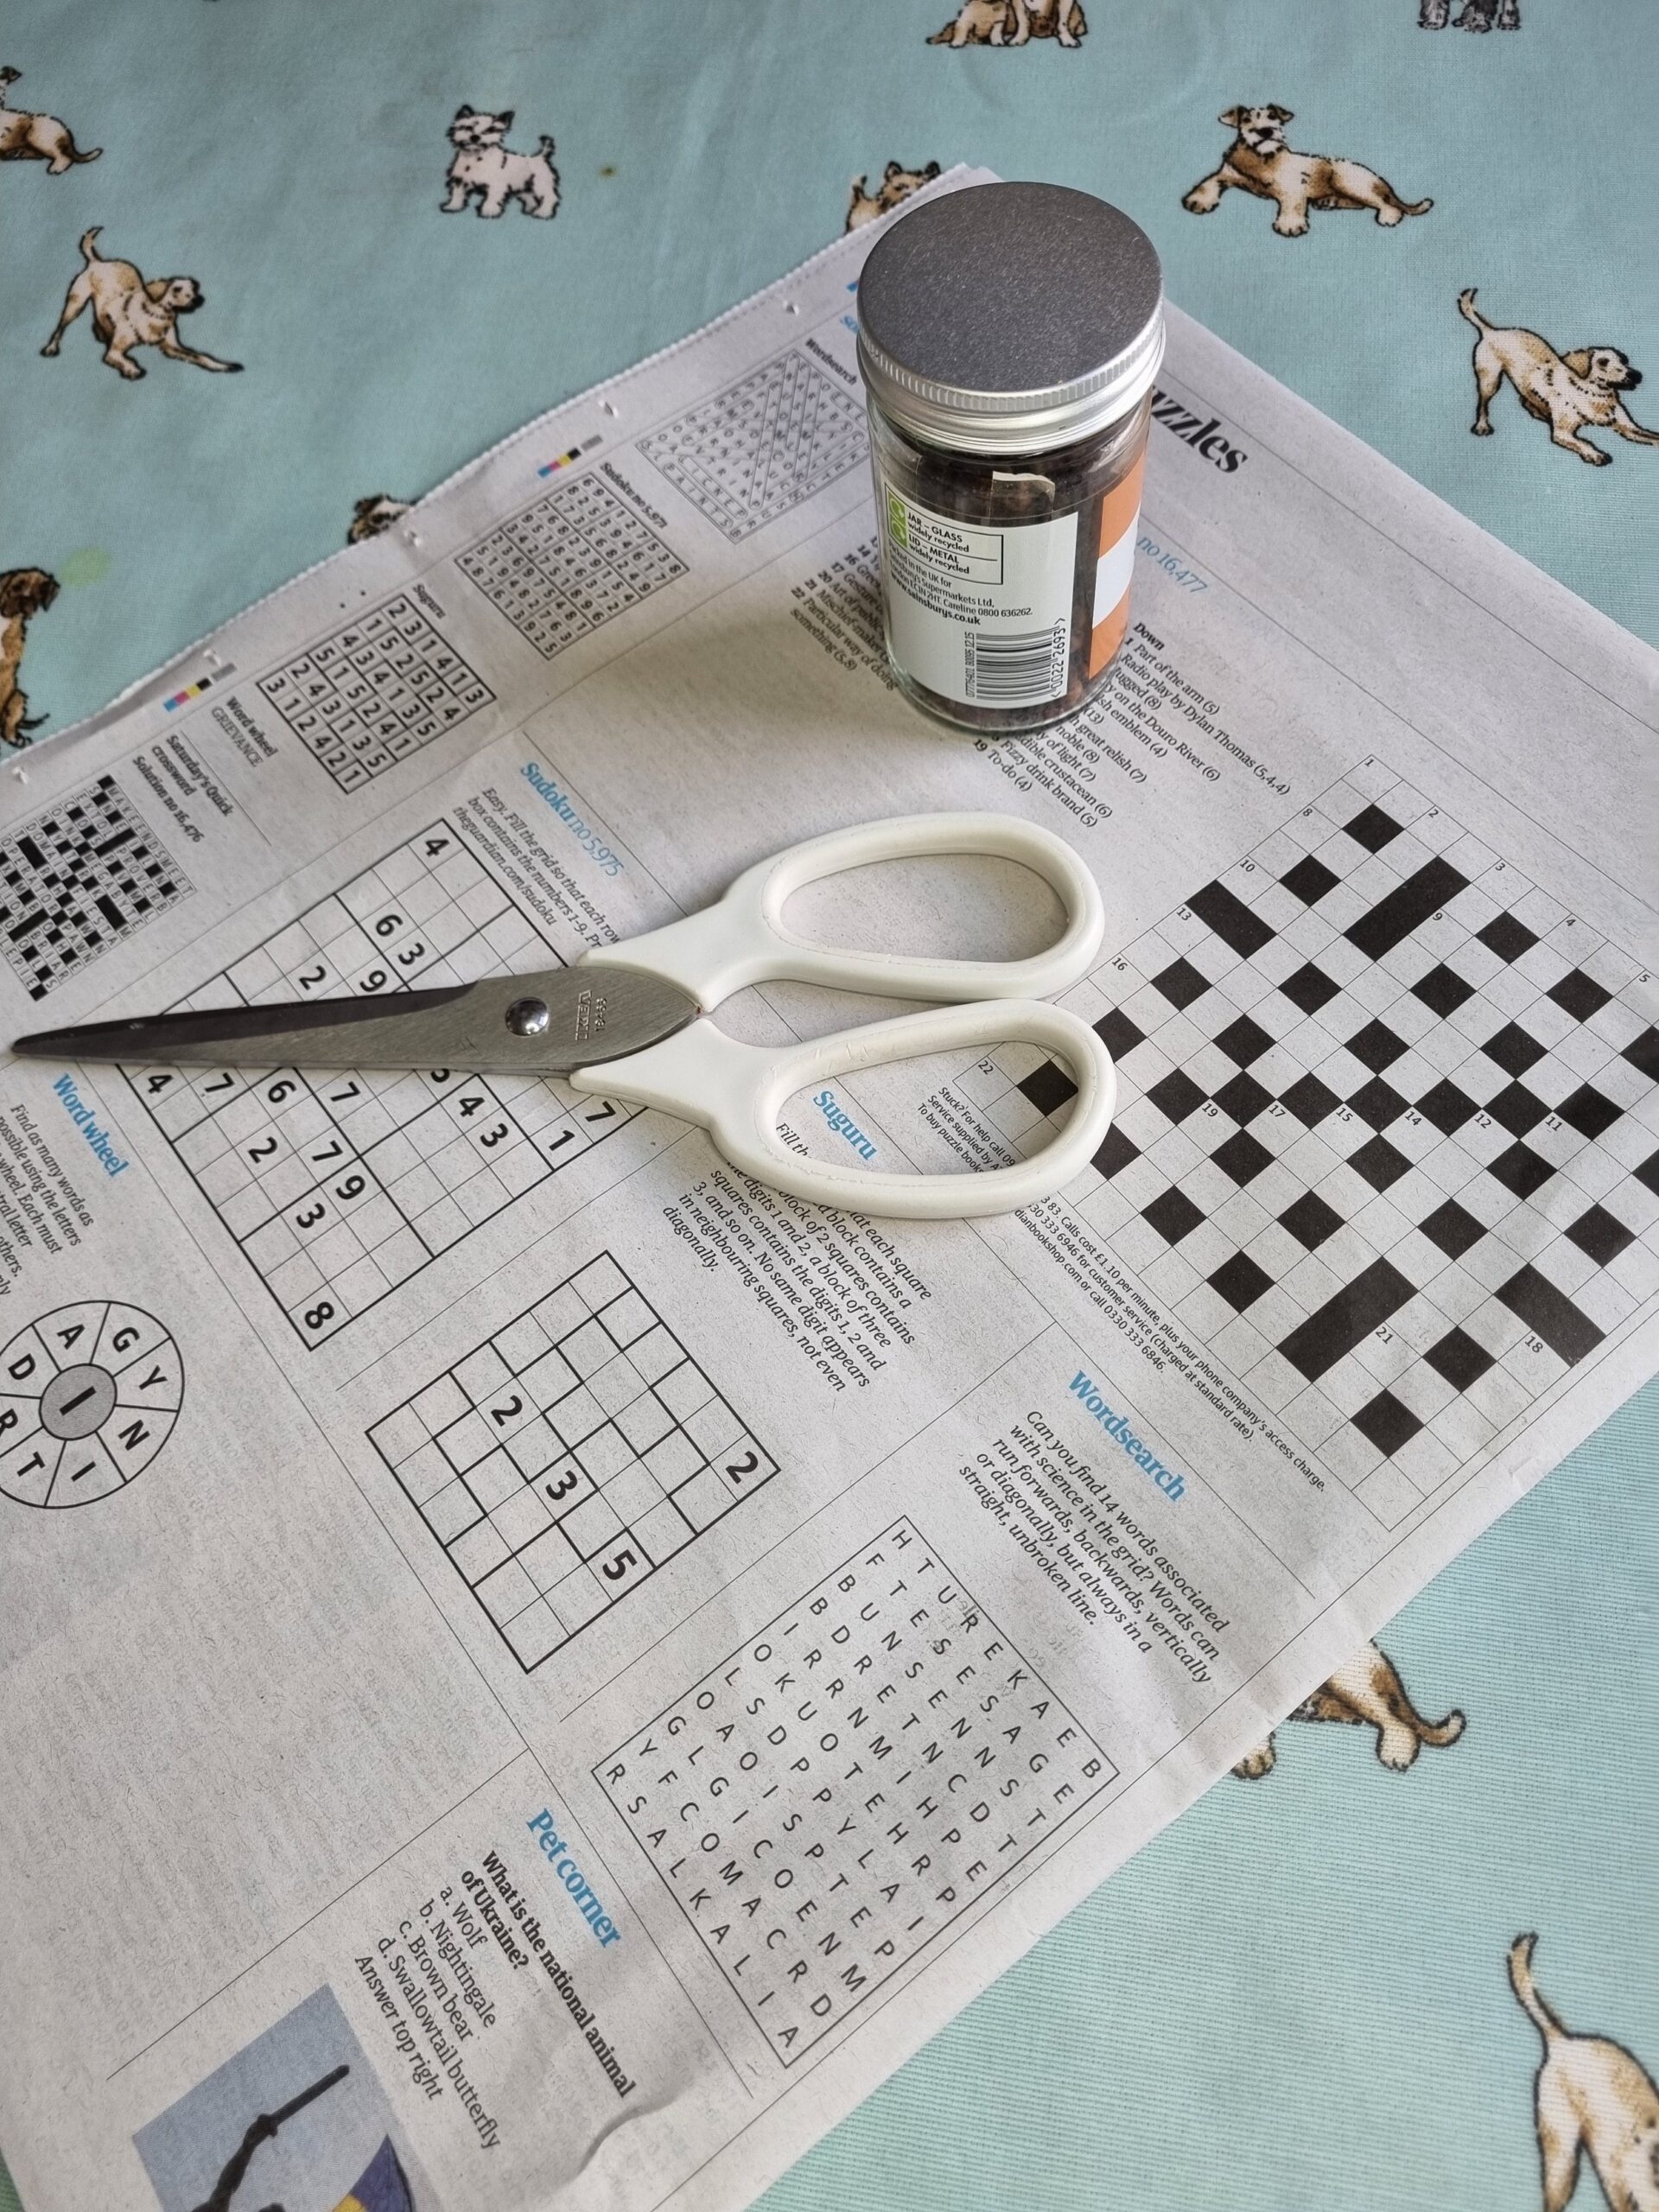
What You’ll Need
1 sheet of newspaper
Tin of Spice Jar (size dependent on the size of pot you want)
Scissors
Step 1: Gather your supplies together, for seeds I recommend using a spice jar for your mould as it’s just the right size for single seed plantings. I also use these in my propagator as it makes transplanting seedlings much easier!
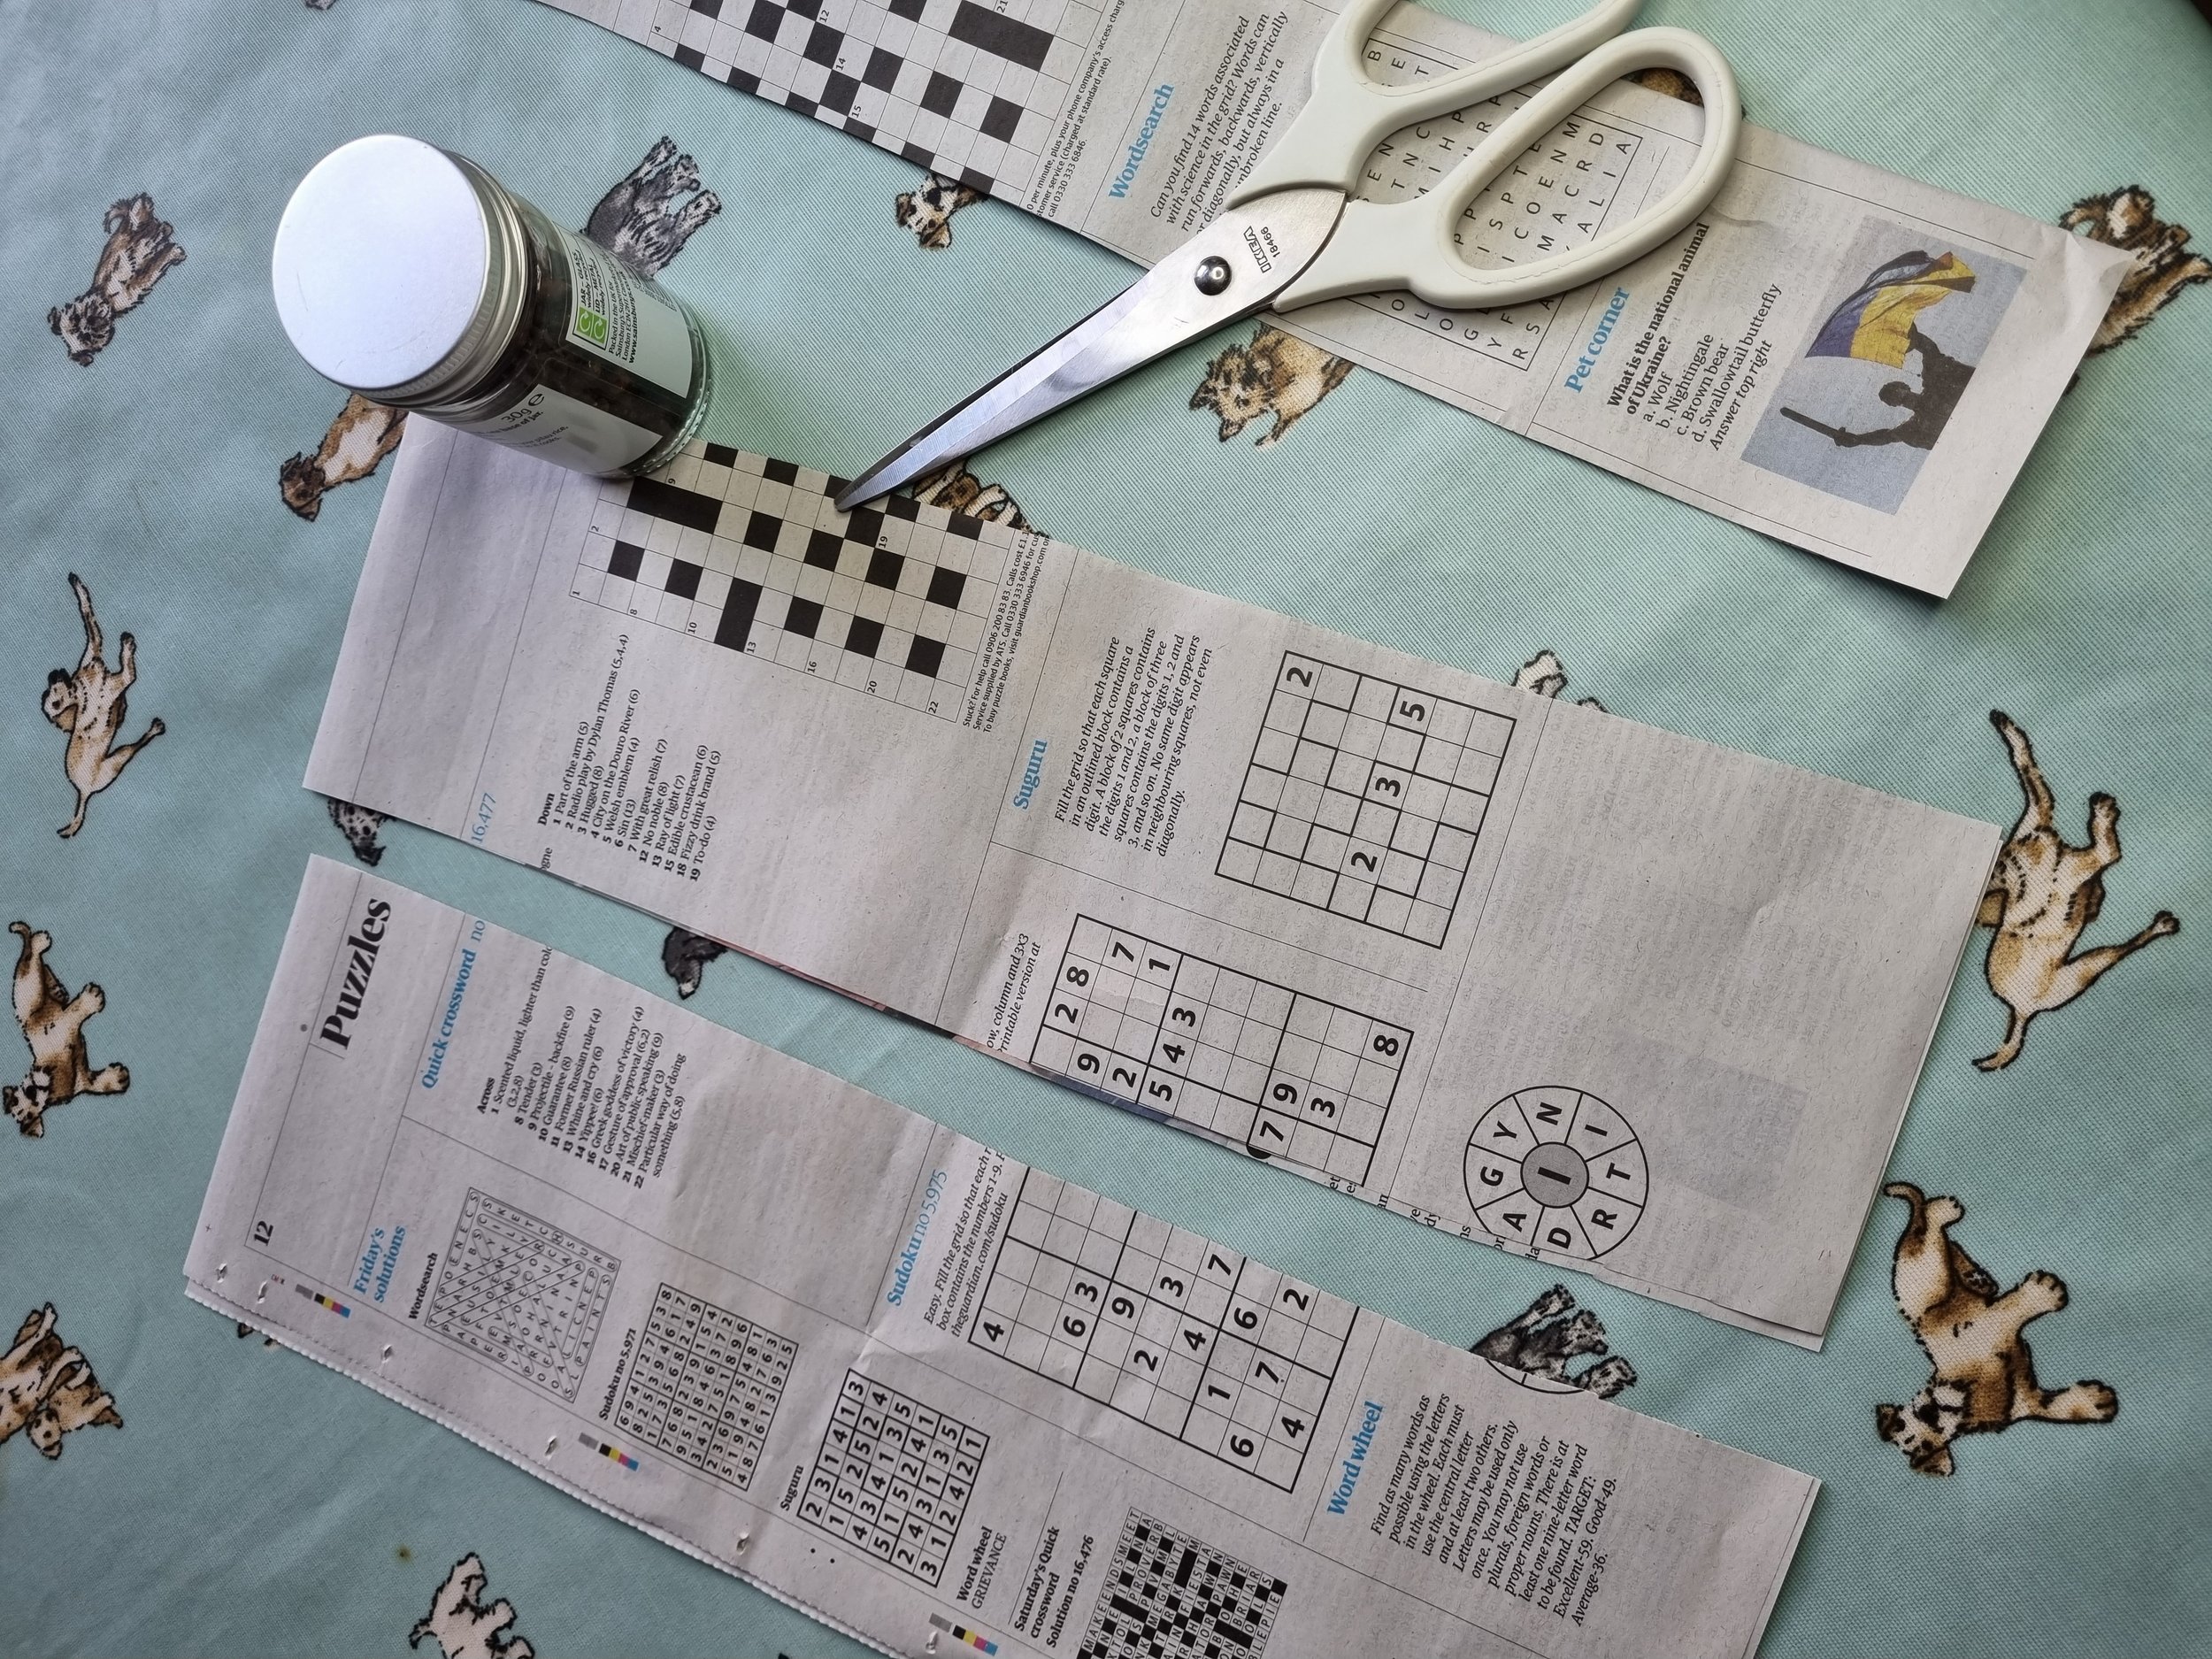
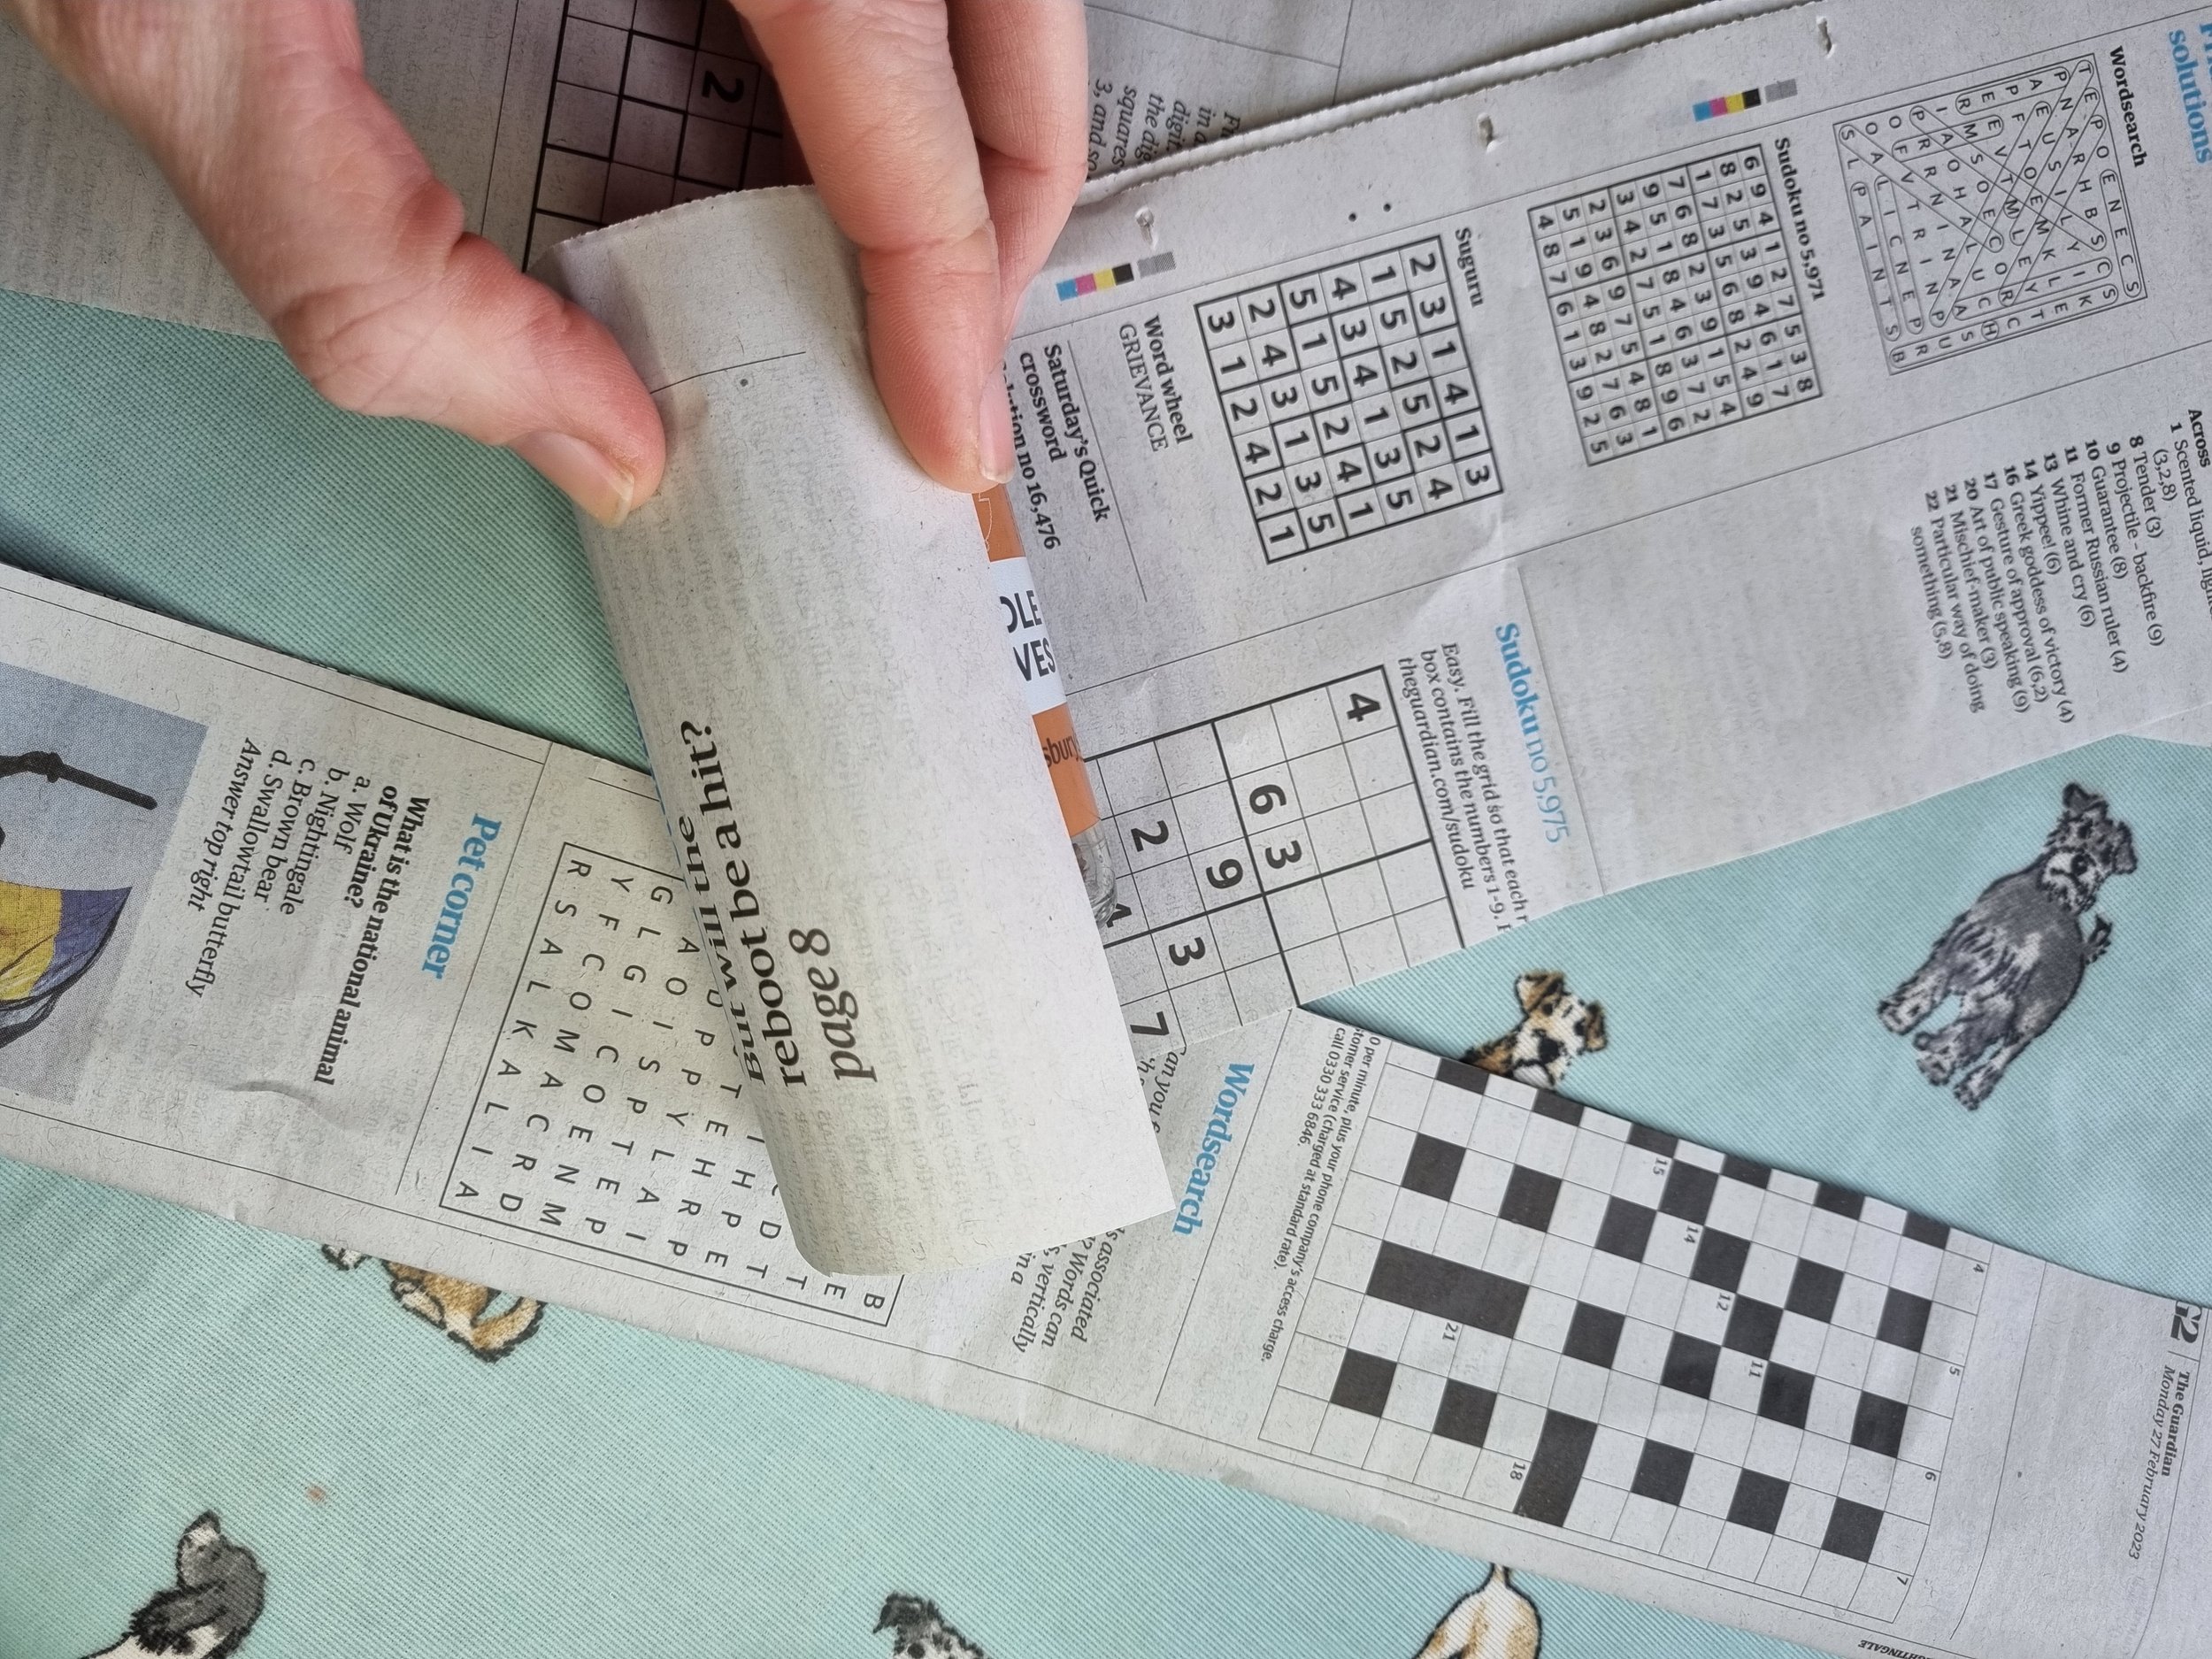
Step 2: Fold the newspaper in half so you have a two sheet stack of newspaper (a double page spread folded in half works well). Then, cut the sheet into thirds lengthwise so you end up with three double layered strips
Step 3: Using the jar or can as a mold, lay it on its side on the newspaper and leave about an inch over the end. Tightly roll the jar along the strip until you reach the end of the strip. NB: Don’t roll the jar so tight that you can’t pop the jar out once you’ve made your pot
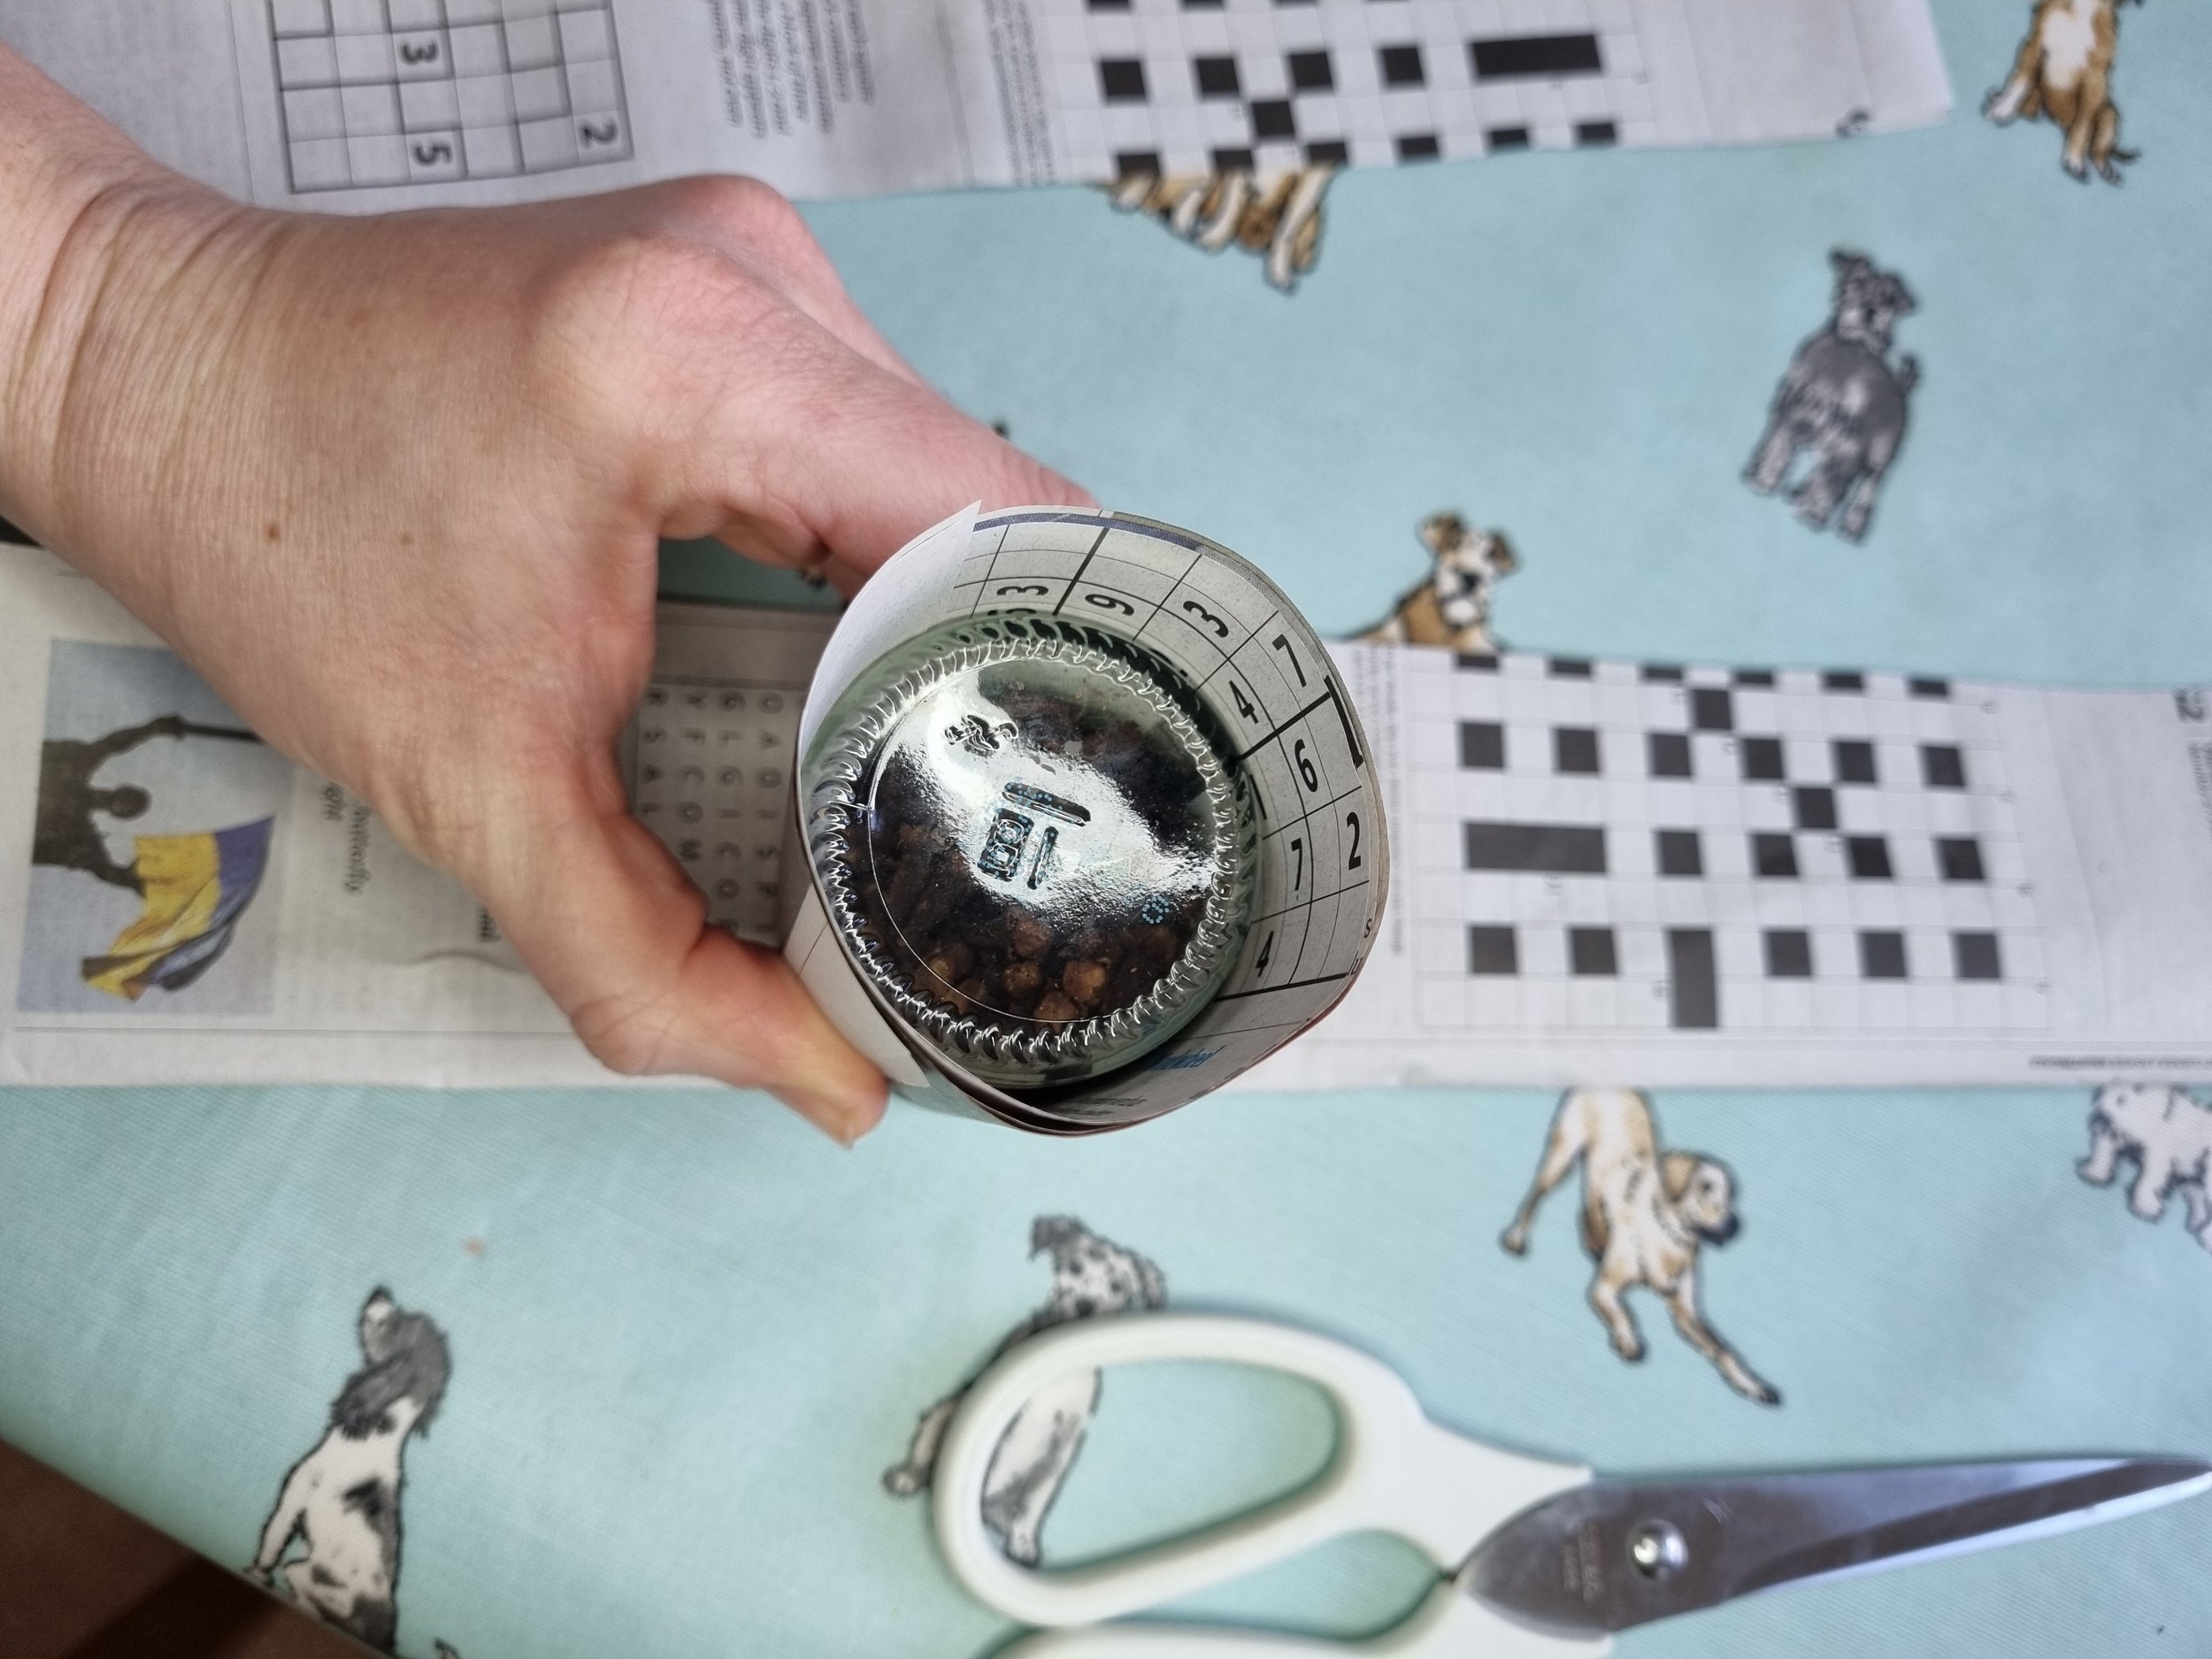
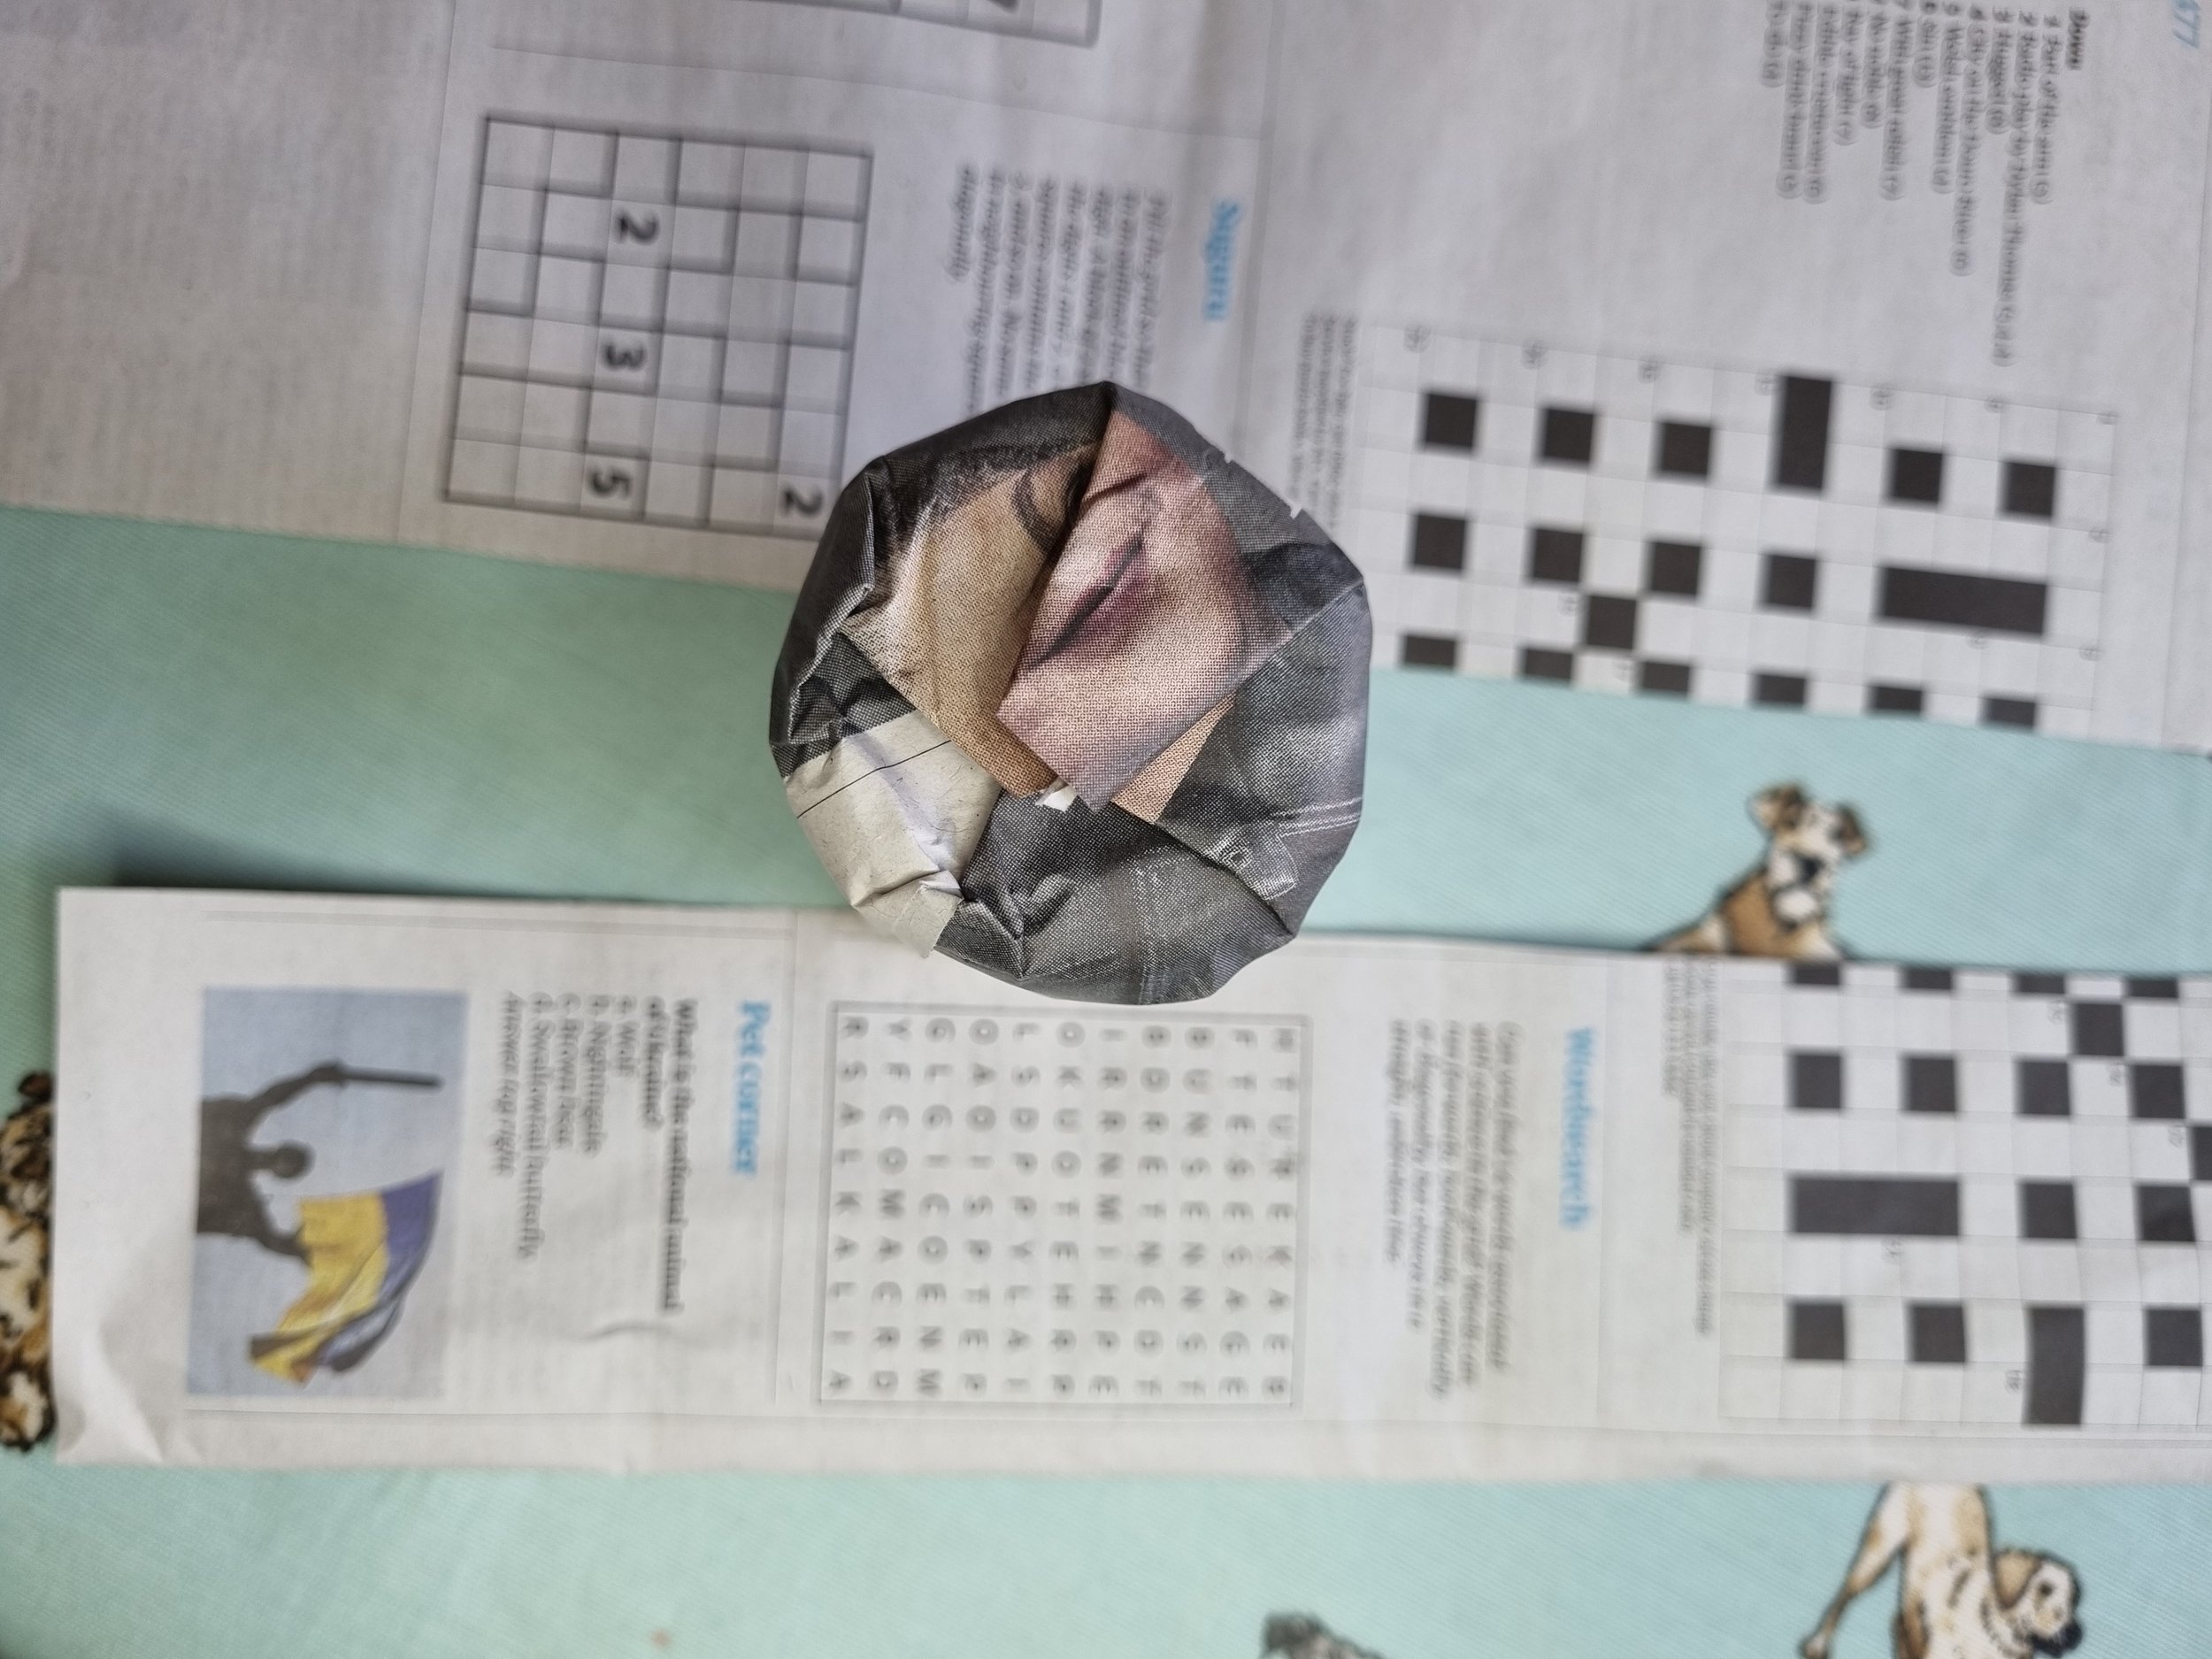
Step 4: Take the overhanging edge and fold the edges down all around the jar, this creates the bottom of your pot. Once you’ve gone all around the edge flip it over and push down on the table to tighten the folds. (If you’ve got the pot press this is where is really comes into its own!)
You might find that you are left with a small hole in the centre of your pot. This is fine because it helps with drainage, as long as the folds are tight the pot will hold together just fine.
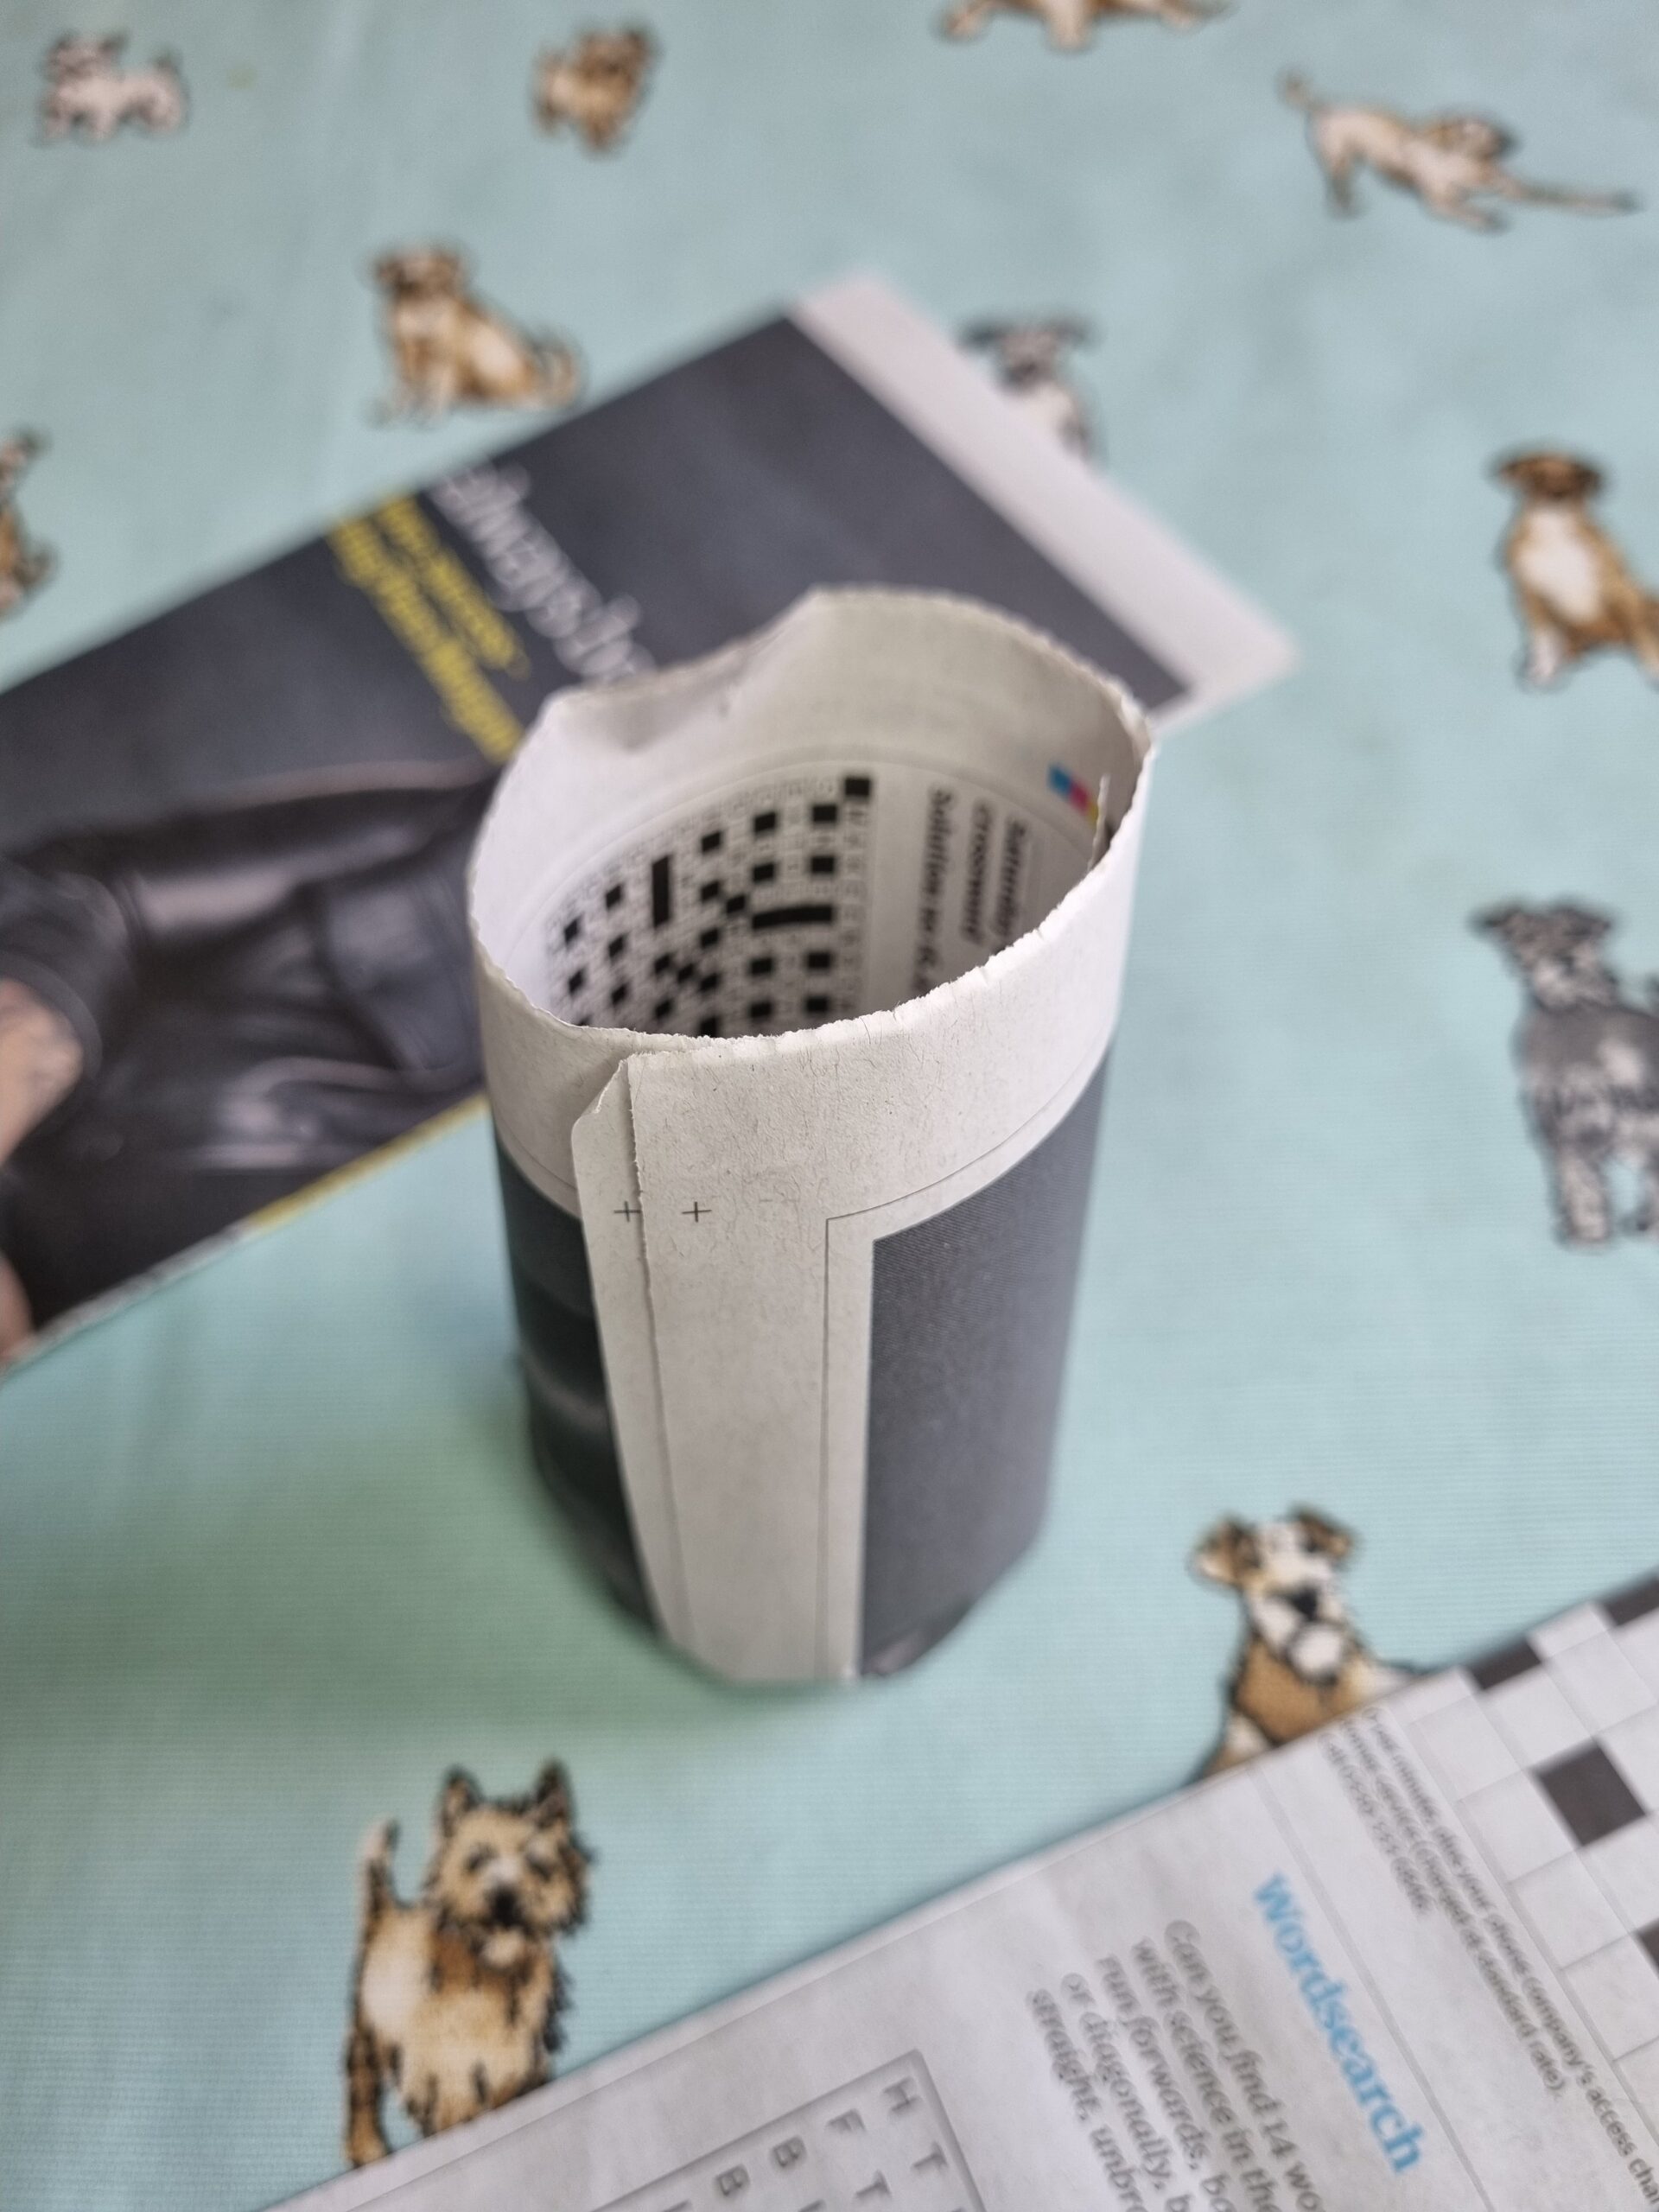
Step 5: Gently slide the pot out of newspaper. You may think that the pot feels a bit thin but they get surprisingly strong when filled out with compost.
When using these pots take care when watering….too much and they might start to break down before your seedlings are ready to move out of them!
The great thing about these little pots is that when it comes to transplanting seedlings you don’t need to disturb the seedlings roots because you can pop the whole plant in the ground.
If you prefer not to plant the pot as well, simply unfold the bottom of the pot and unwrap, then you can toss the paper into your compost so still no waste!
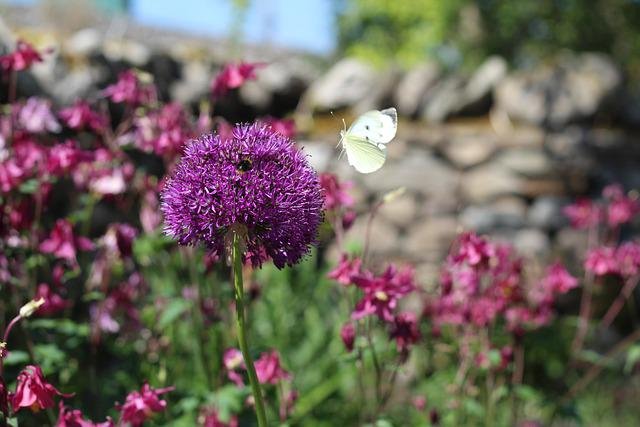
Alliums don’t just steal the show in your garden. Their flowers also benefit insects. Bees and butterflies simply love their many individual flowers brimming with nectar.
Allium: What’s in a Name?
‘Allium’ is the botanical name assigned to ornamental onions; and very appropriate it is, too, since it means ‘sharp tasting’.
After all, it indicates precisely the taste that onions (and this includes ornamental onions) lend to culinary dishes. Over the centuries, the name ‘Allium’ has had several different meanings. In Victorian times, the name of the flower indicated that it provided happiness and prosperity. The ancient Egyptians saw the onion’s scales as a symbol of immortality and used pictures of them to decorate their graves. The Romans gave the Allium the meaning of ‘onion or leek’.
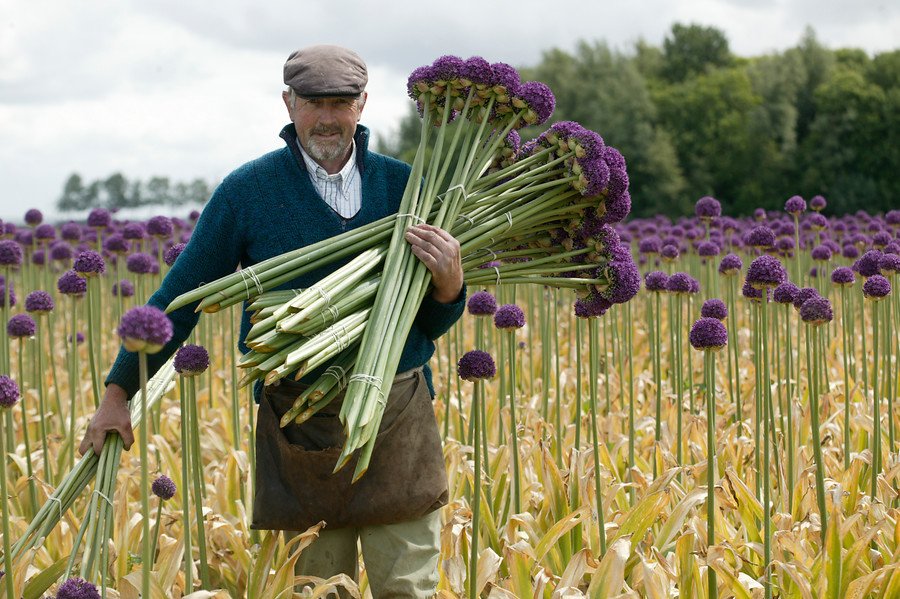
The mighty Globemaster, an impressive large bulbous perennial with grey-green leaves foliage and clusters of star shaped purple flowers in summer on stems to 80cm in height
Allium: Its Many Varieties
From under the ground, an allium emerges to produce a long stem with a spherical cluster of individual flowers. There are actually hundreds of varieties. Some – such as onions, shallots, garlic, ramsons and leeks – are even edible. Yet the largest group of them is intended for brightening up the garden. And these come in a huge number of varieties. While one is absolutely huge, another is small and delicate. Their range of colours is also extensive: every shade of purple, pink and lilac as well as white. Here is a list of the most familiar alliums:
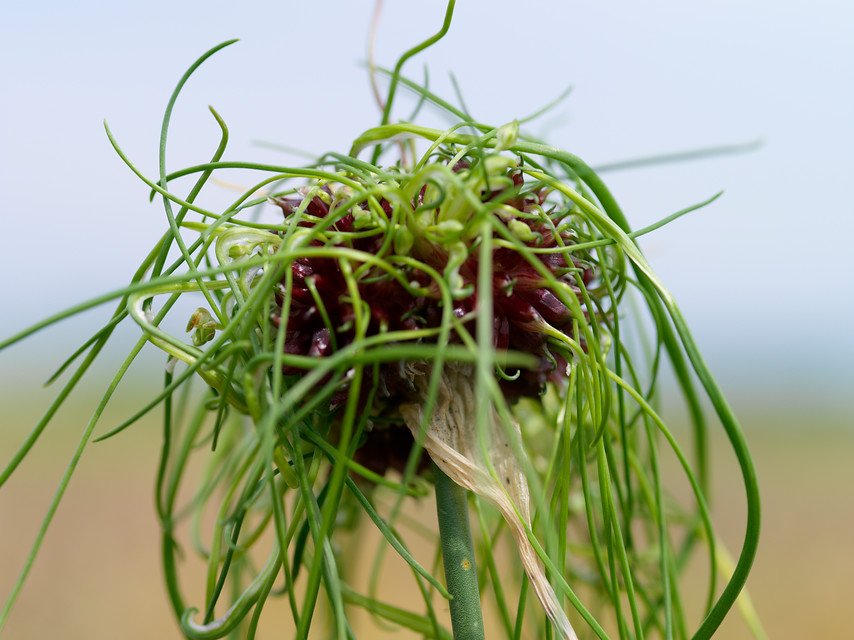
Alliums are popularly recognised by their striking purple spheres. But Alliums come in so many varieties, check out this unusual variety know as A.Hair!
A. Mount Everest, A giant! Larger than the Globemaster in height at 1.2m with beautiful white flowers, Globemaster and White Everest would make a great border feature.
A.Moly, Smaller than a lot of Alliums that we know, it is a clump-forming bulbous perennial up to 40cm in height, with lance-shaped, grey-green leaves and often paired flower stems, with each stem bringing gorgeous yellow flowers in early summer.
Biodiversity
Butterflies survive on nectar. This is the syrupy liquid that provides them with sugar, proteins and vitamins. A butterfly’s long, rolled-up tongue (called a proboscis) allows it to access this food source. The females in particular need nectar to produce their eggs. Bees also need nectar to stay alive and to make their honey. Allium flowers are thus real treats for bees and butterflies. This is because each of their inflorescences (what we think of as ‘flowers’) is actually made up of many tiny flowers to form a single sphere. It’s these individual flowers that provide the nectar that insects gobble up.
Tips for Looking After Alliums
When the flower has faded, don’t remove it yet. Its star-shaped individual flowers will have produced tiny seedpods that provide a lovely silhouette that creates visual interest throughout the autumn and winter.
Alliums, just like tulips and daffodils, should be planted in the autumn and will flower from mid-May to the end of June.
Their flowers will then look beautiful among perennials. With their stunning structure and shape, they make real eye-catchers in the border.
For the most profuse flowering display, make sure to give ornamental onions a sunny place.
Alliums will survive the winter. This means you can leave them undisturbed from where they will come up and flower again next year.
Disclosure: This is a sponsored post and contains affiliate links. If you make a purchase using the links in this article, we may receive a small commission
I had the enormous pleasure recently of being a Hanger On to a Royal Garden Party at Buckingham Palace. Whilst I loved the truly magical experience, the incredible food as well as the pomp and ceremony of the day, what I was most excited about was the opportunity to explore the haven that is the beautiful gardens of the palace. A real slice of peace and tranquillity (well aside from the odd car horn) in the vast City of London.
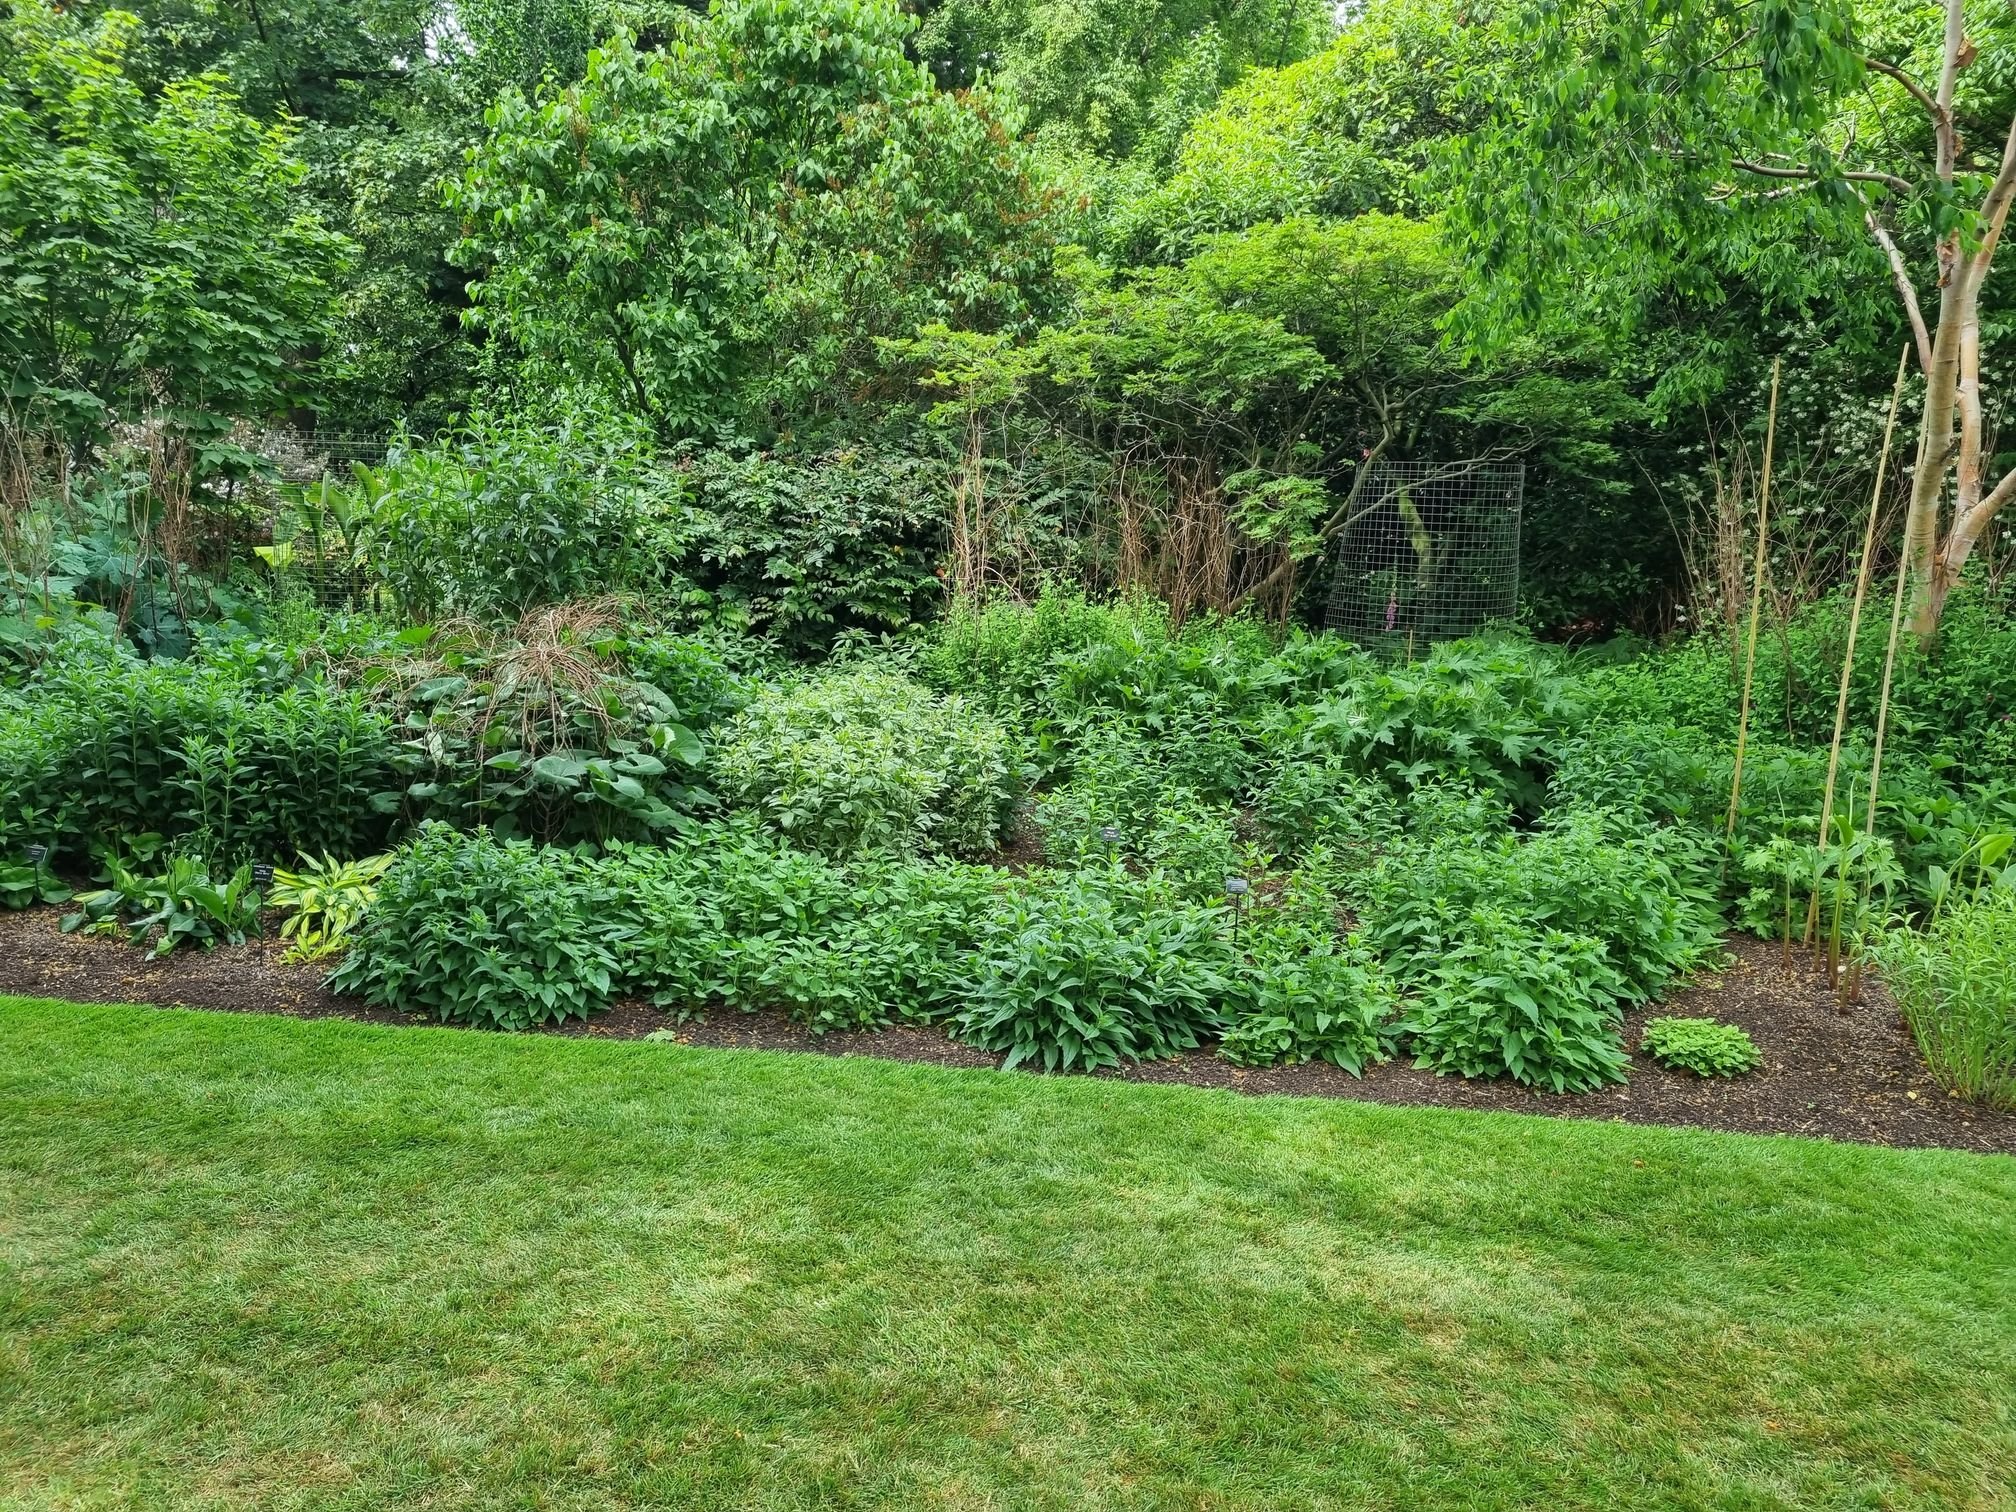
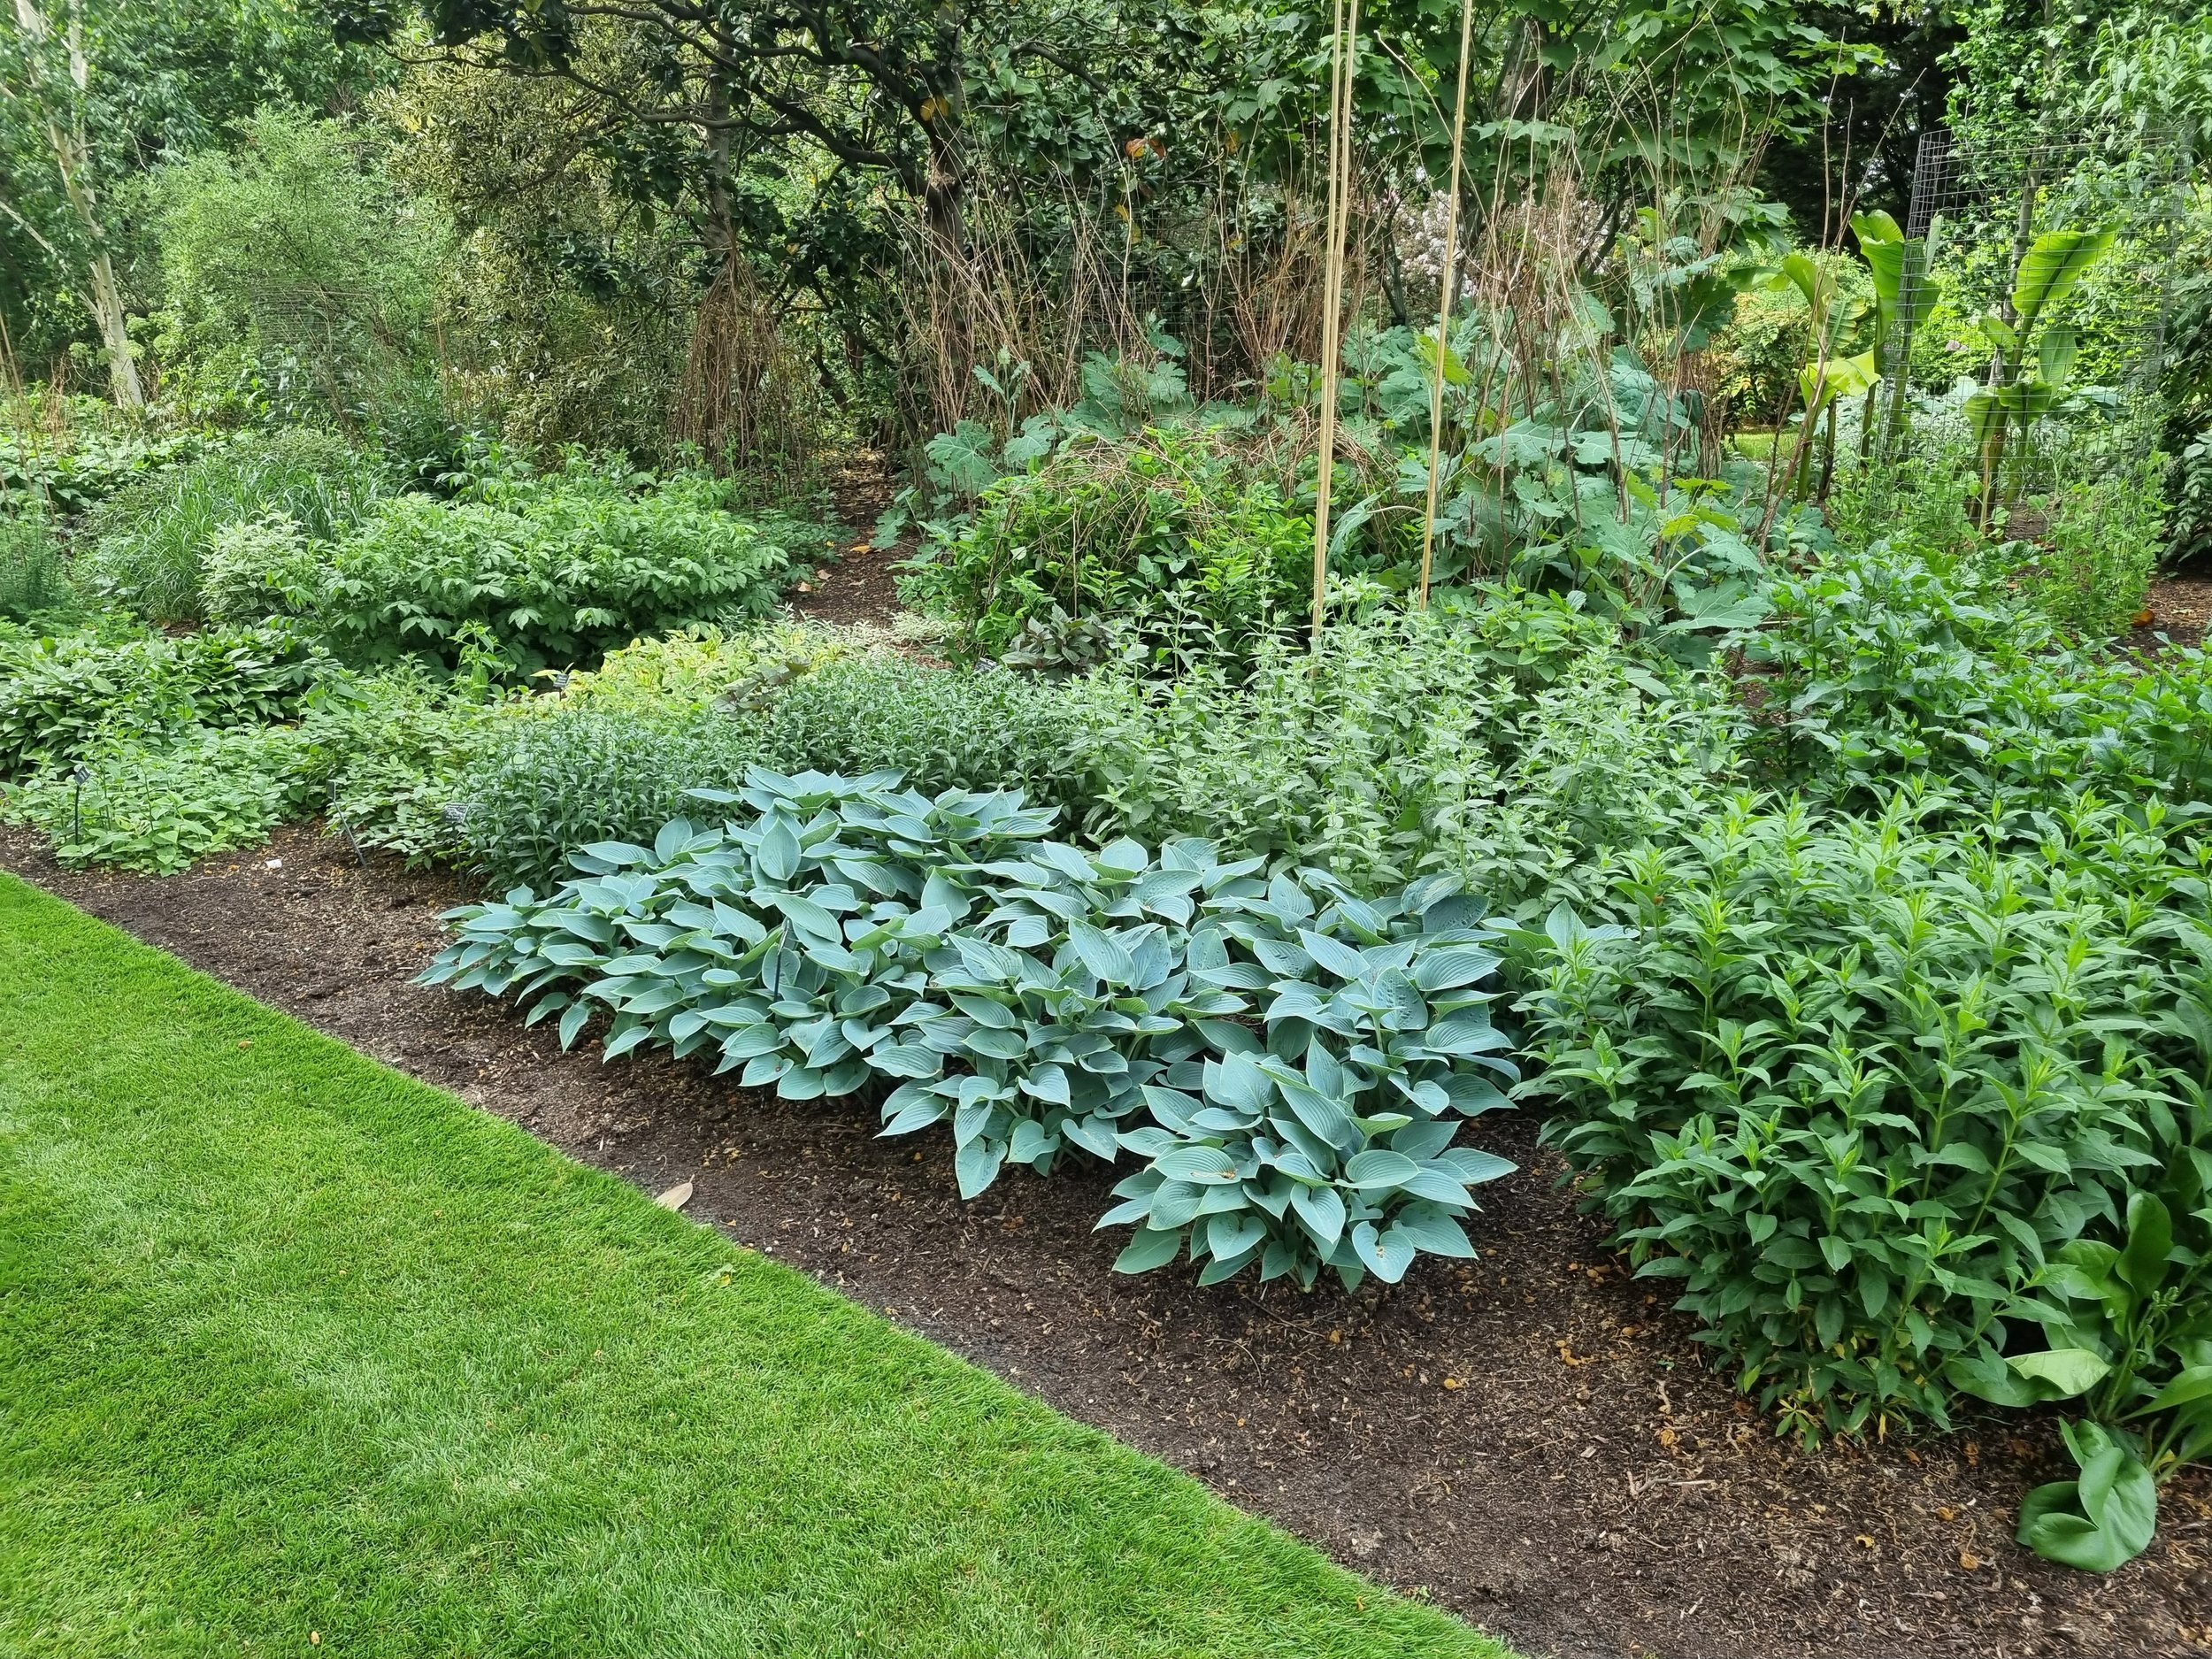
The Herbaceous Border
The first section we walked through the massive Herbaceous border, said to be 156 metres long (now that’s a lot of weeding!) Perfectly mulched, with the odd splash of early colour, this border is the stuff of dreams. I love the use of natural supports throughout the border, it really adds some texture to the border.
But what really caught my eye was this stunning Hosta. I believe it’s the Halycon variety and I love how the beautiful matt blue/green colour stands out amongst the lush green backdrop.
I’ve never managed to grow a Hosta that didn’t end up looking moth eaten (or just eaten to disappearance) but this one….not a single nibble visible!
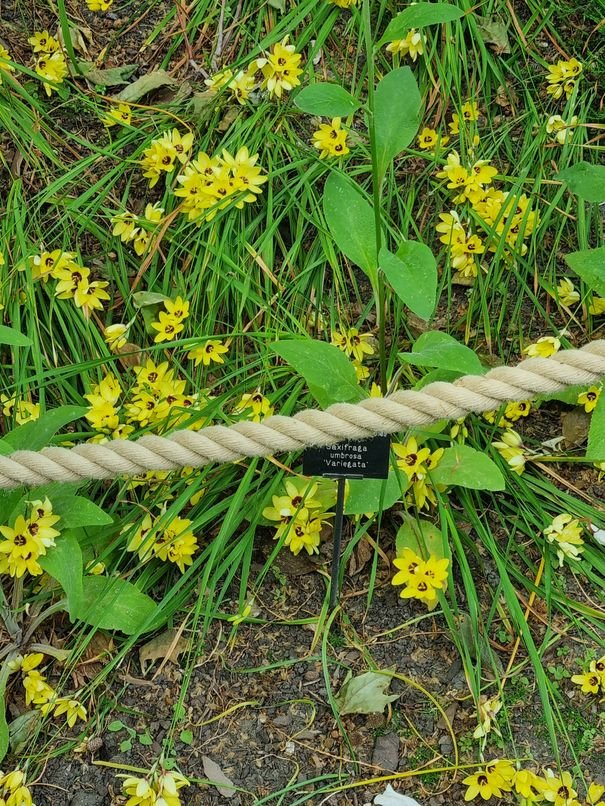
Moving on to another splash of colour, we came across this beautiful Ixias. This variety is Ixias Yellow also known as the African Corn Lily and I loved the beautifully opened faced flowers creeping around the front edges of the border.
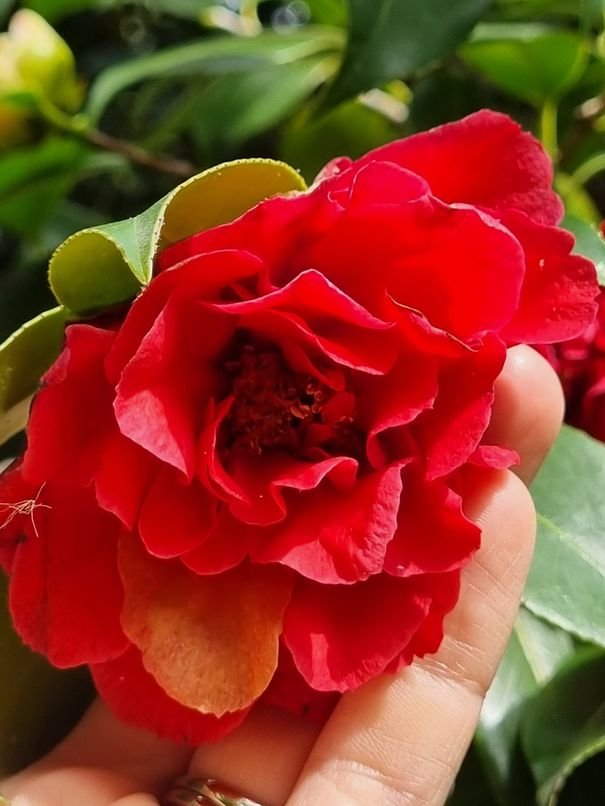
Much more up my street is this Camilia Japonica that was just coming to the end of its flowering season. It looks a bit like the ‘Lady Campbell’ variety. I love the deep green waxy leaves in contrast to the delicate flowers. With its size rivalling and Rhododendron it was perfectly placed along the neat gravel path offering privacy and seclusion from the main lawned areas, perfect for an evening stroll.
Pretty, well manicured borders showcase an array of different plants and whilst borders with just one species can really make an impact, I much prefer the variety here. I bet they are going to look even more amazing when the summer blooms appear!
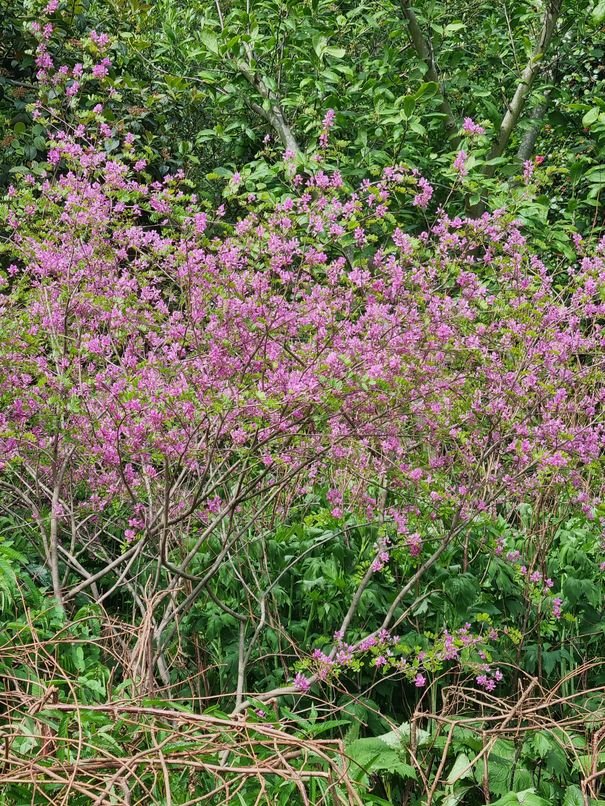
Another beautiful plant that really stood out in the Herbaceous border was this striking Indigofera Himalayensis called Silk Road.
Without tramping all over the border (which I’m pretty sure would’ve been frowned upon!) I couldn’t get close enough to get a good photo of the individual blooms, it’s delicate pinky purple flowers dappled against the mature trees and shrubs at the back of the border really helped to break up the greeness of the early growth.
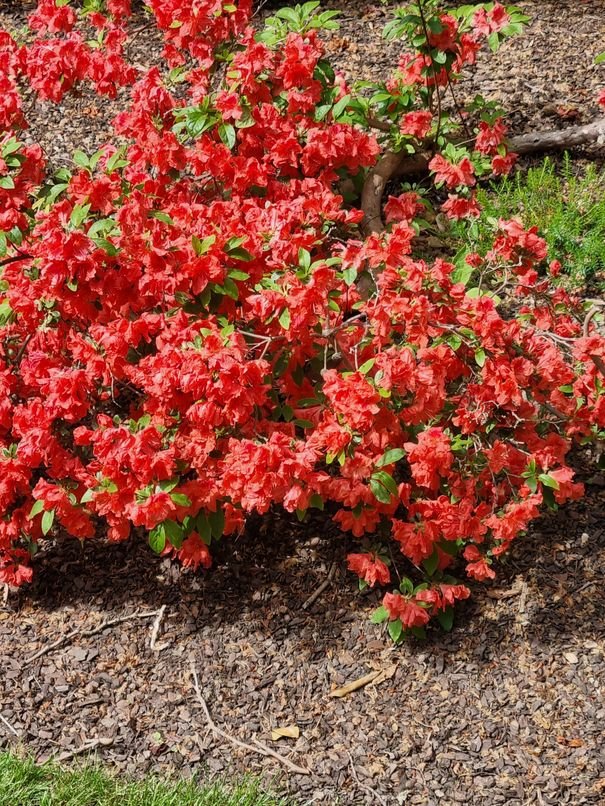
As you’d expect in formal gardens there was an abundance of established Rhododendron in the garden and whilst I am not a massive fan of them, I can appreciate the beautiful shade of red in this one, known as Scarlet Wonder
One of the more seemingly random placements was this Echium Piniana, also known as Giant Viper’s Bugloss or Tower of Jewels (fitting for a palace garden!), holding its own in a relatively bland section of the garden. It’s pretty pale flowers were the only splash of colour in amongst the shrubs it towered above.
The Arboretum
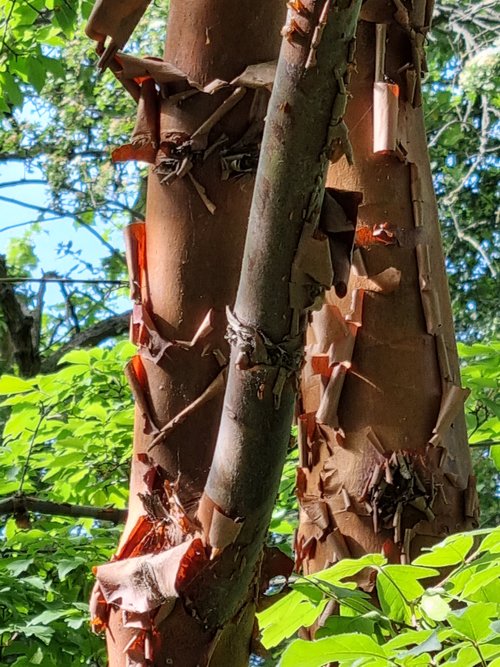
Now onto trees, with it’s own Arboretum, you can see all the usual suspects from Poplar to Copper Beech. But there was on tree, nestled away in the wilder areas of the garden that took my breath away and has firmly made it onto my shopping list for when we get our forever home (not if….totally WHEN!). The amazing tree below is Acer Griseum, Paperback Maple.
These photos do it zero justice; the bark of this tree is a burnt toffee colour and it almost looks ablaze under its bright green canopy. It stood out in the wilder areas of the garden and added some real interest into what probably would have been a bit of the garden that I would’ve strolled on past.
The Rose Garden
I couldn’t talk about Buckingham Palace gardens without mentioning the Roses. Now it’s only recently that I’ve started to appreciate the beauty that a Rose can bring to a garden and this year is the first year we’ve added some to our own garden and I cannot wait to watch them scale the wall of our house. A lot of the varieties I saw didn’t have the varieties labelled so there are my best guesses as someone still very much learning, so please let me know if I’m way off!!
Love the simplicity of this Rose on the above, it reminds me of a Dog Rose with its delicate, simple single layer of petals and I particularly like the way the petals almost uniformly overlap. I believe this particular variety is a Rambling Rose called ‘American Pillar’
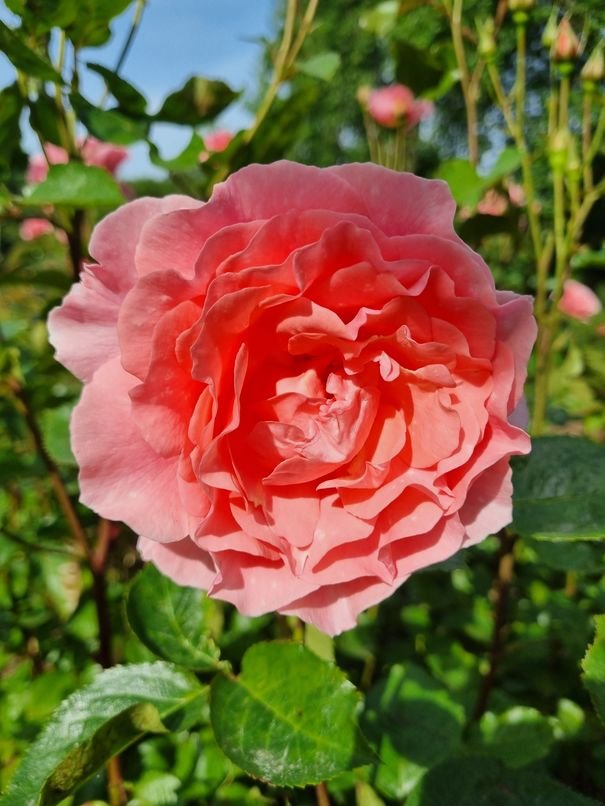
This next Rose was the trickiest to find a variety that seemed to match this bloom, but I simply love this looser bloom. I’ve narrowed it down to either Rosa Queen Elizabeth or Rosa Special Mum both are Floribunda Bush Varieties and from the number of blooms on this one it’s definitely value for money
I’m not normally a fan of double roses but this one known as Constance Spry I’ve made an exception for. It is simply beautiful, it was awash with these almost Peony like blooms and it’s abundant foliage would make a great hedge screen.
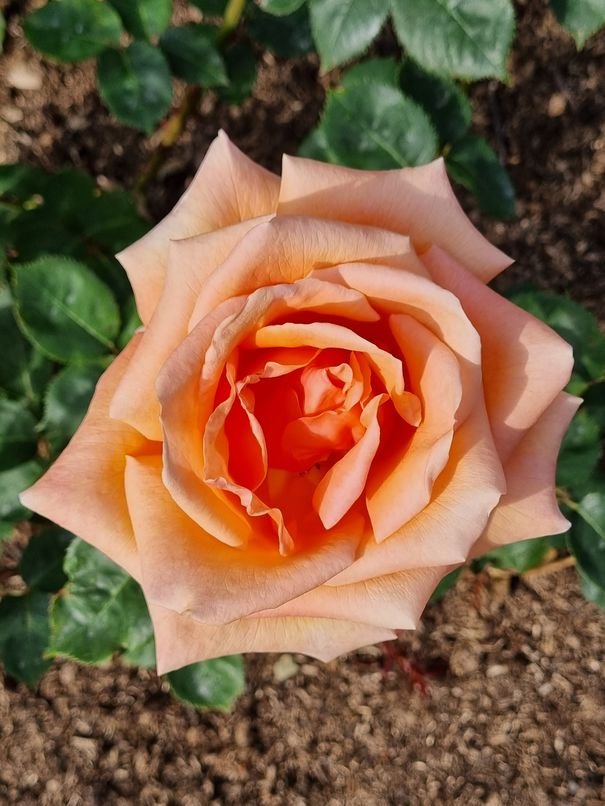
This beautiful Apricot bloom I believe is the gorgeous ‘Sweet Honey’, a hybrid tea shaped large bloomer. It was named Rose of the year 2020 at Hampton Court and has received praise for its amazing resistance to disease. It’s definitely on my list!
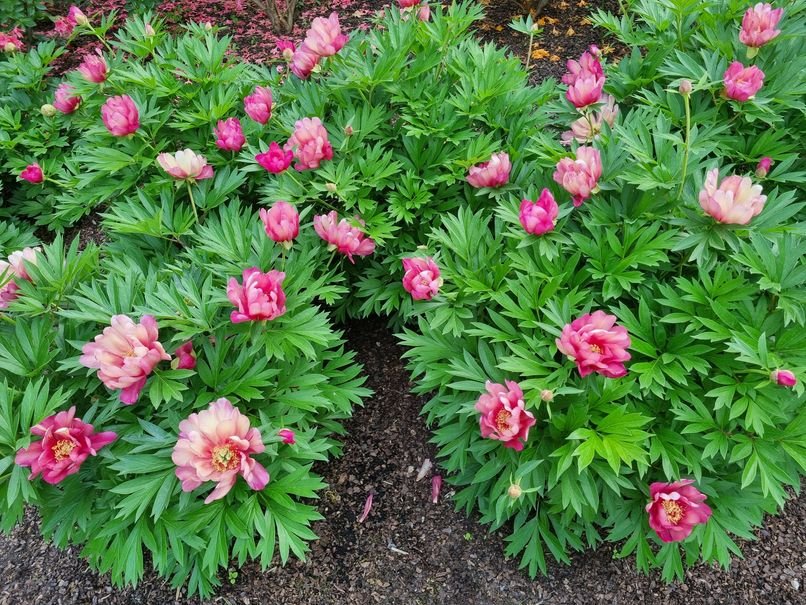
And finally….my last pick (because I could right another four posts on this at LEAST!) I couldn’t leave out Peonies. These, along with Alliums, are my favourite flowers and there were so many varieties and colours to see!! This one definitely stood out for me, Paeonia ‘Berry Berry Fine’ would be a good similarity to this one or Peonia Lactiflora Red Sarah Bernhardt would be another similar bloom type that would look amazing!
I felt so lucky to be able to have the opportunity to look around the beautiful palace gardens. My ever growing list of plants to by when we finally settle just grew that much larger, but spending time in a garden with such history and so lovingly maintained was an absolute joy!
What are some of your favourite gardens to visit?
Disclosure: This article contains affiliate links; if you make a purchase using a link in this article we may receive a small commission
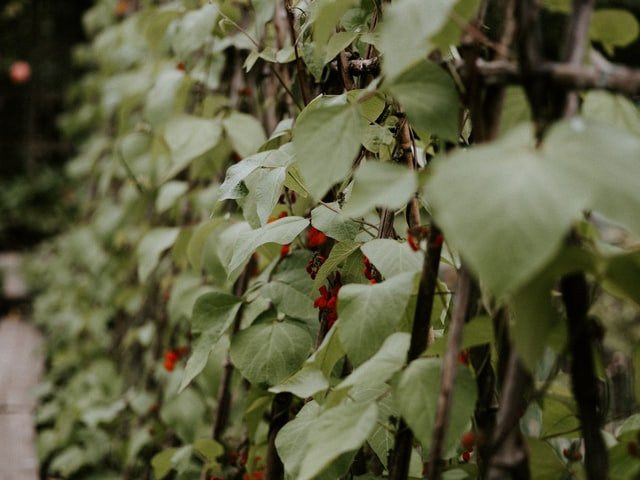
Runner beans go rampant in the Summer, spreading tall and wide (as I found out when I didn’t secure them properly!) and because of this they are also really greedy, hungry plants. This year on our new plot we’ve worked to give them a head start using a trenching method to get the soil in the beds ready to nourish our beans for a super productive harvest. Come back to me at the end of July when I’m sick of the sight of them and have a freezer full and I might tell you I won’t do this again!!
Making a Runner Bean Trench
It is SUPER easy to make a runner bean trench and providing your soil isn’t still frozen where you are then it’s a nice easy job to do for February. Here’s three simple steps to making your trench.
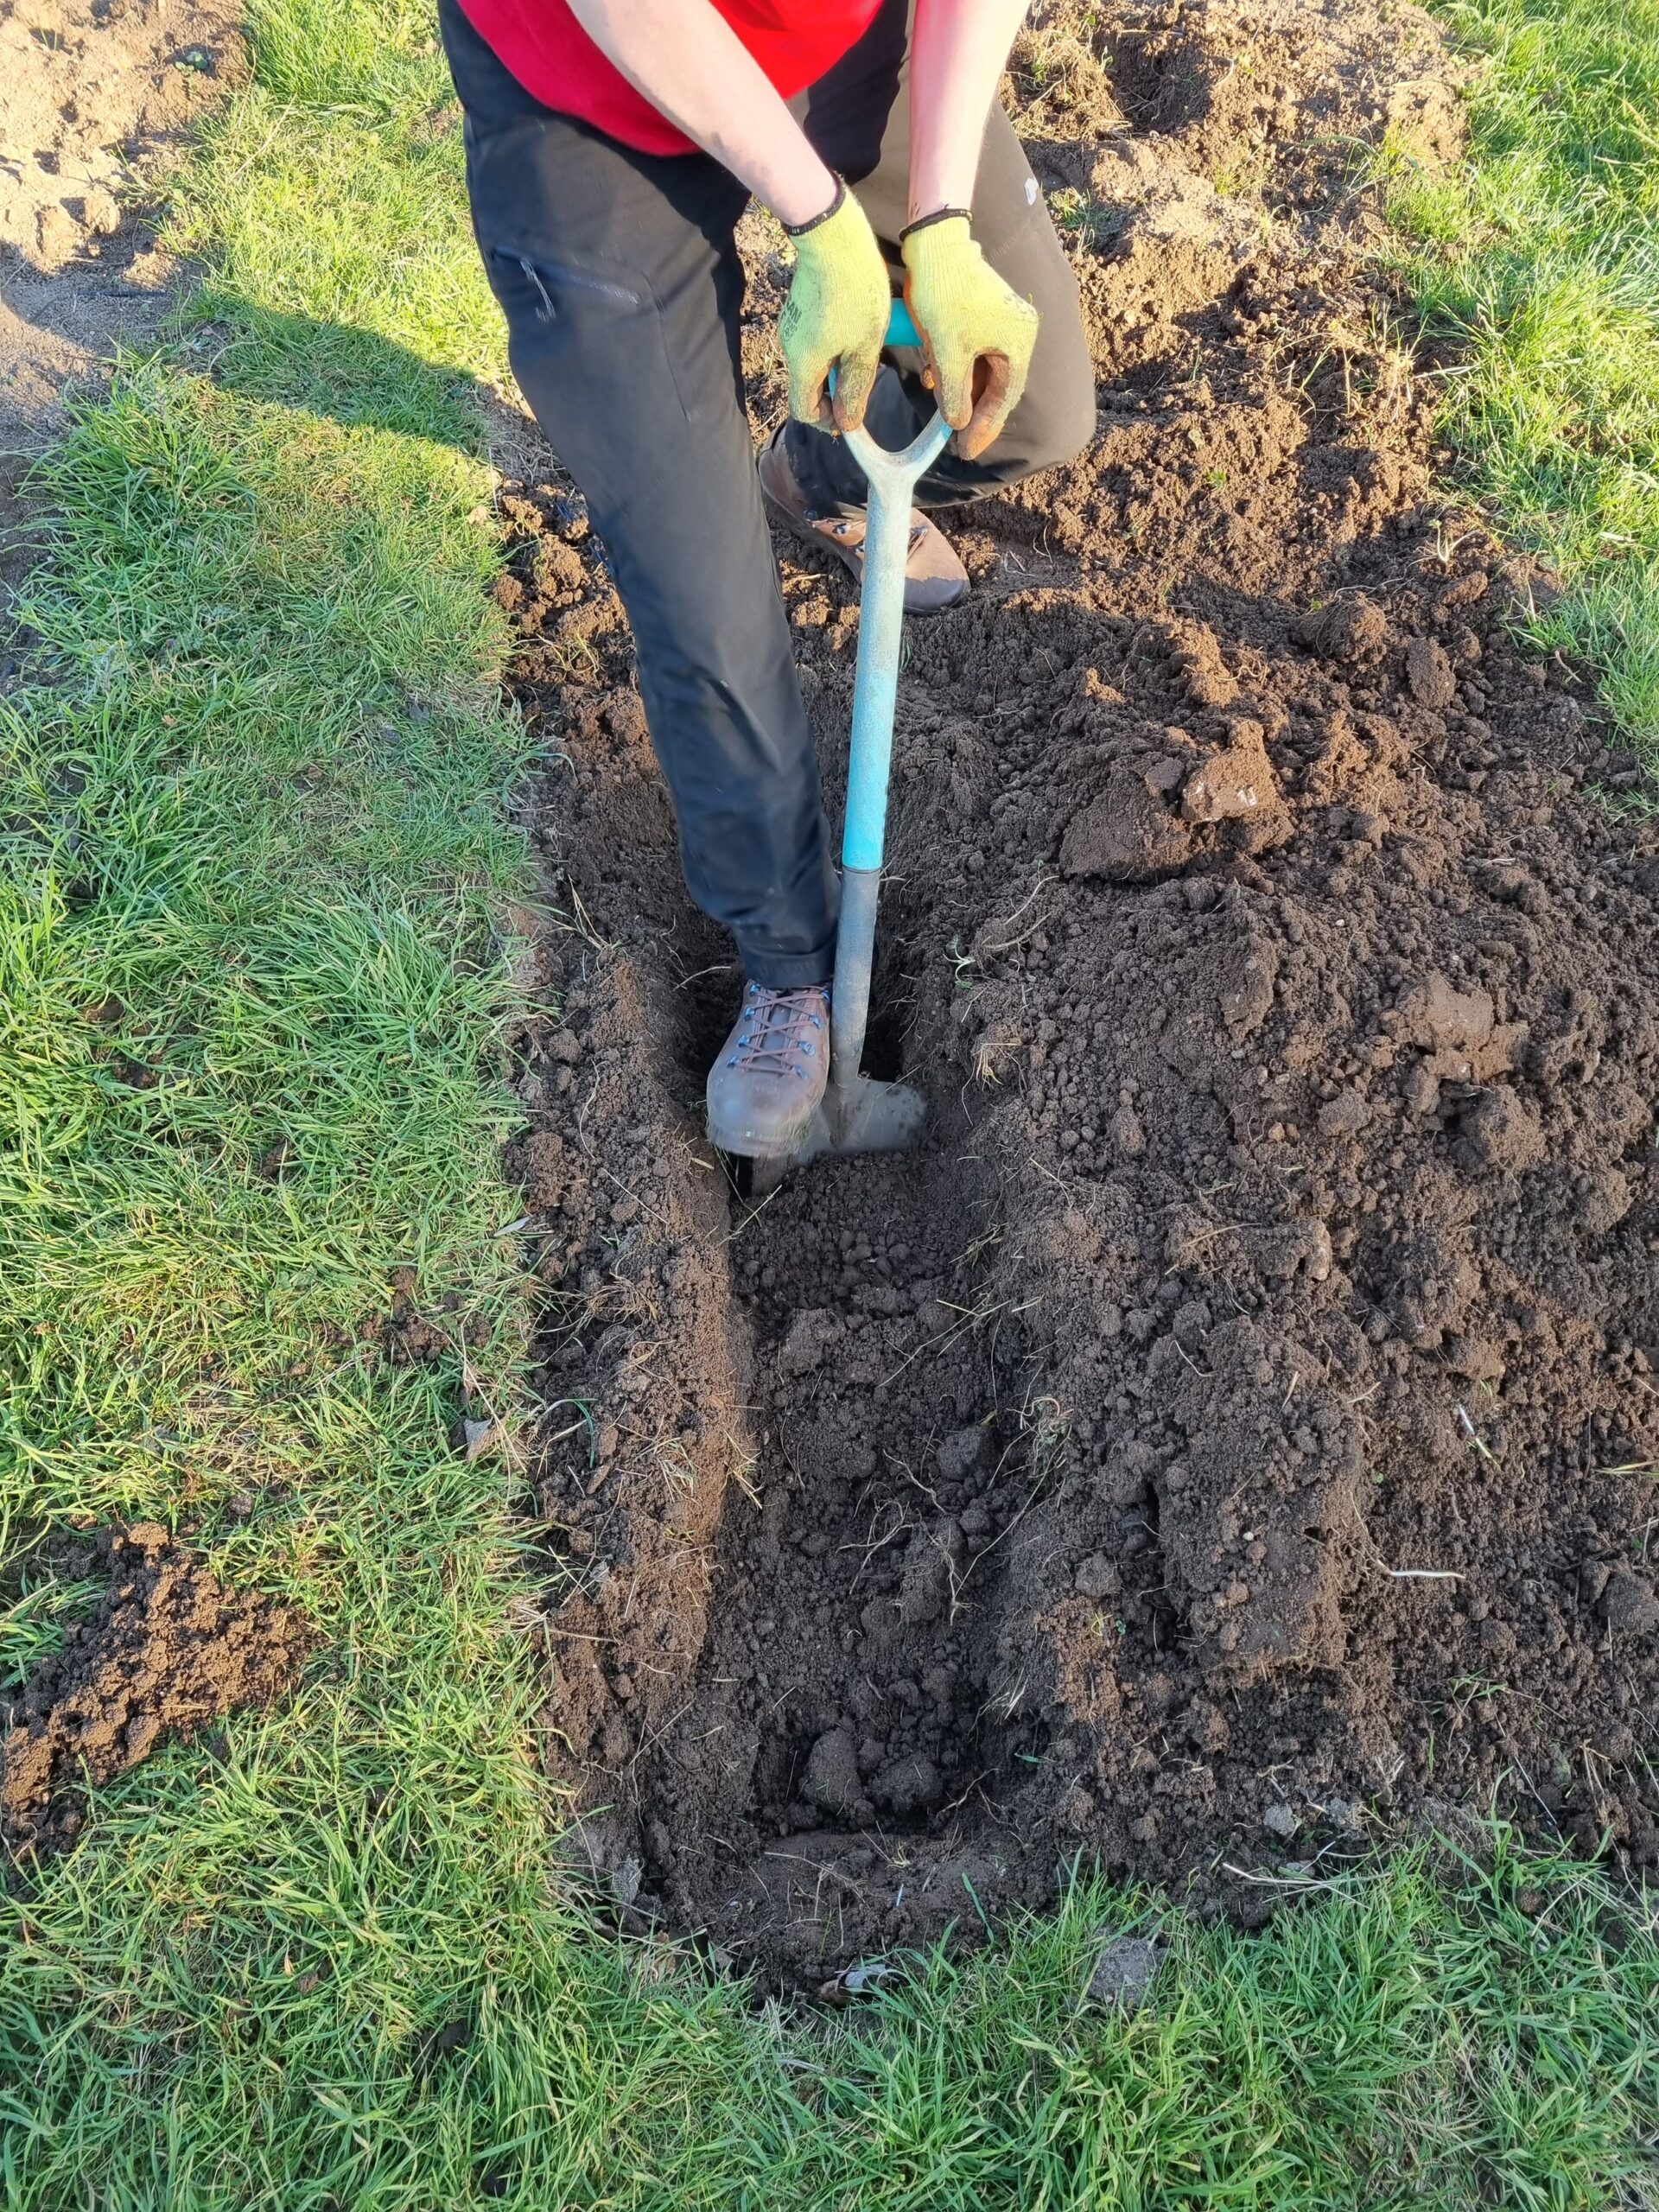
Getting the Free Labour in to dig the trench!
First if you want a nice neat trench you can mark out the area you want to dig in using string and posts but we went by hand for this one. You’ll need a trench around 2ft deep and 1-2ft wide depending how you are planning on setting out your beans. We have two trenches one on either side of the bed so we went with a one foot wide trench.
Also, if you have dense clay soil you might want to just loosen the bottom of your trench to stop it compacting. In Norfolk ours is quite sandy and loose so we skipped this step
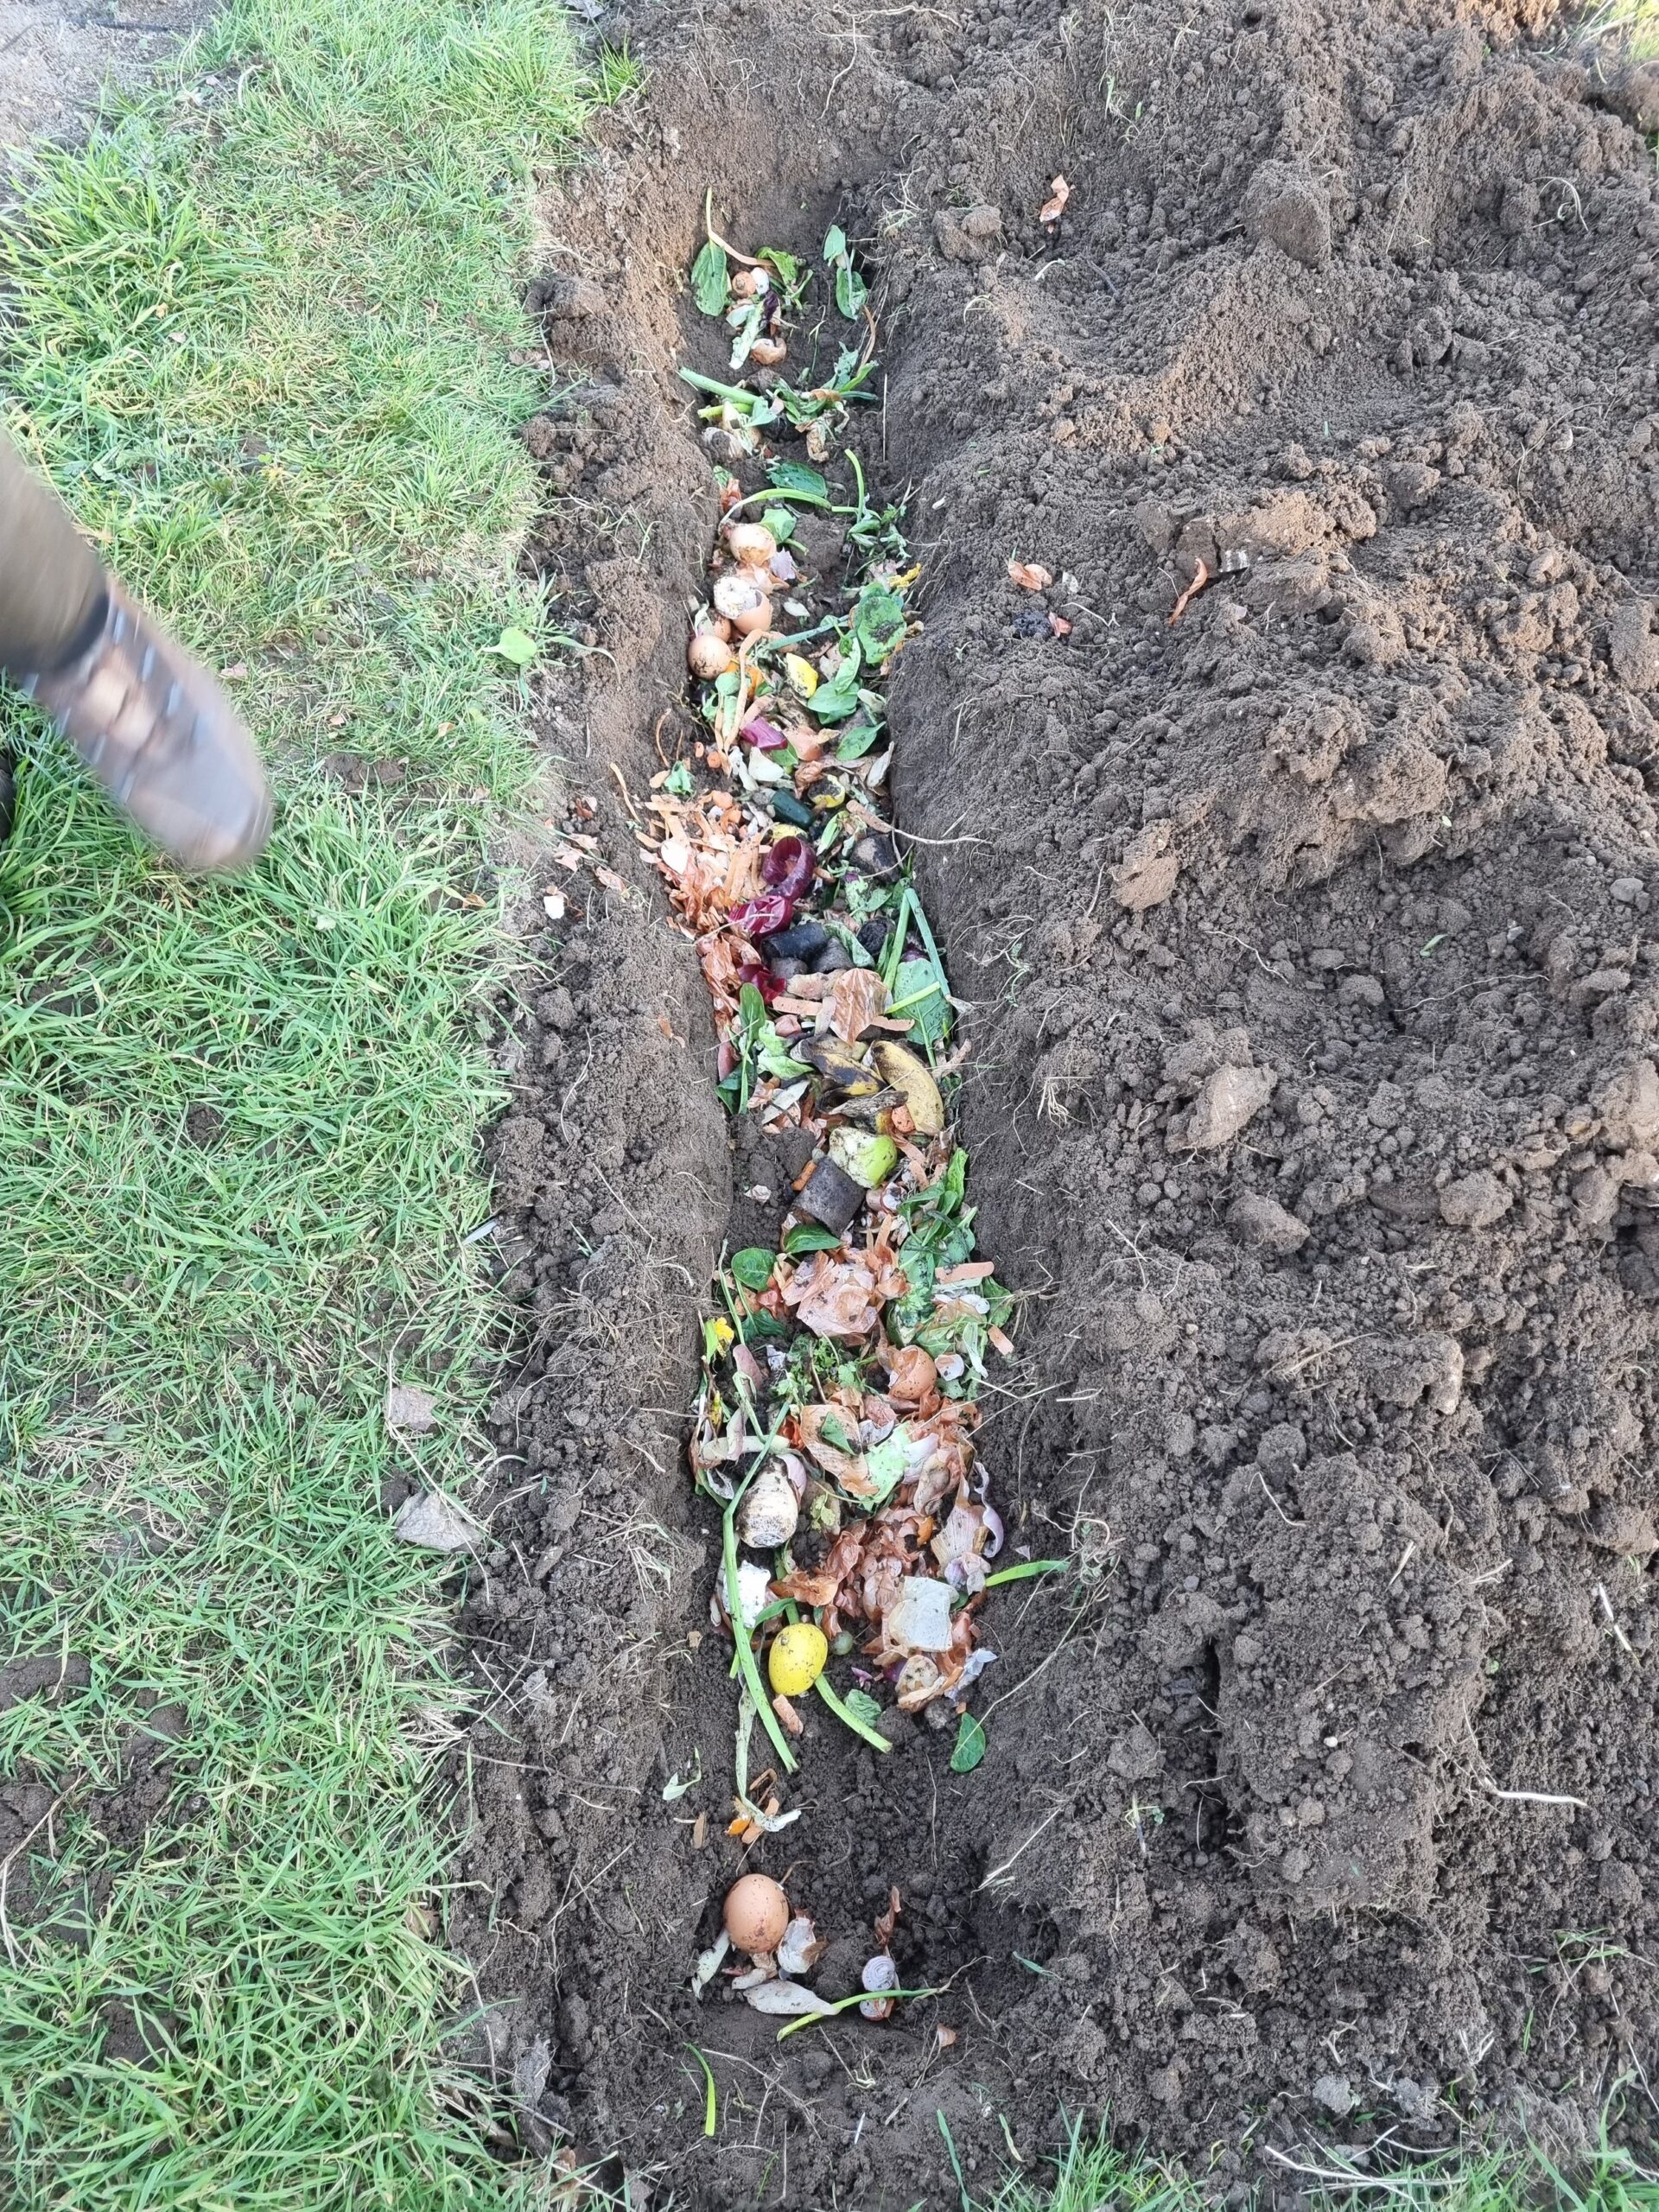
Next, add kitchen waste into the trench and mix in some chicken poop. (We used about half a box of this one). Just a quick note, I wouldn’t use whole egg shells or any cardboard in the trench as it takes such a long time to break down….pop that in your compost instead. We went through after we’d dumped it in and picked the eggs and any cardboard tubes or egg boxes out, (NICE!!)
Finally, Simply fill your trench back in and if you didn’t mark out the trench in the beginning just pop some markers in so you know where it is come planting time and then scatter some more Chicken Manure on top.
TOP TIP!! If you have trouble with Foxes or Rats you might want to cover this after you’re done, otherwise you are going to have a battle on your hands to keep them out!
Disclosure: Some posts on The Heritage Hoes contain affiliate links that give us a small commission if you make a purchase. This is at no cost to you
1")